how to build a milking stand in 21 pictures
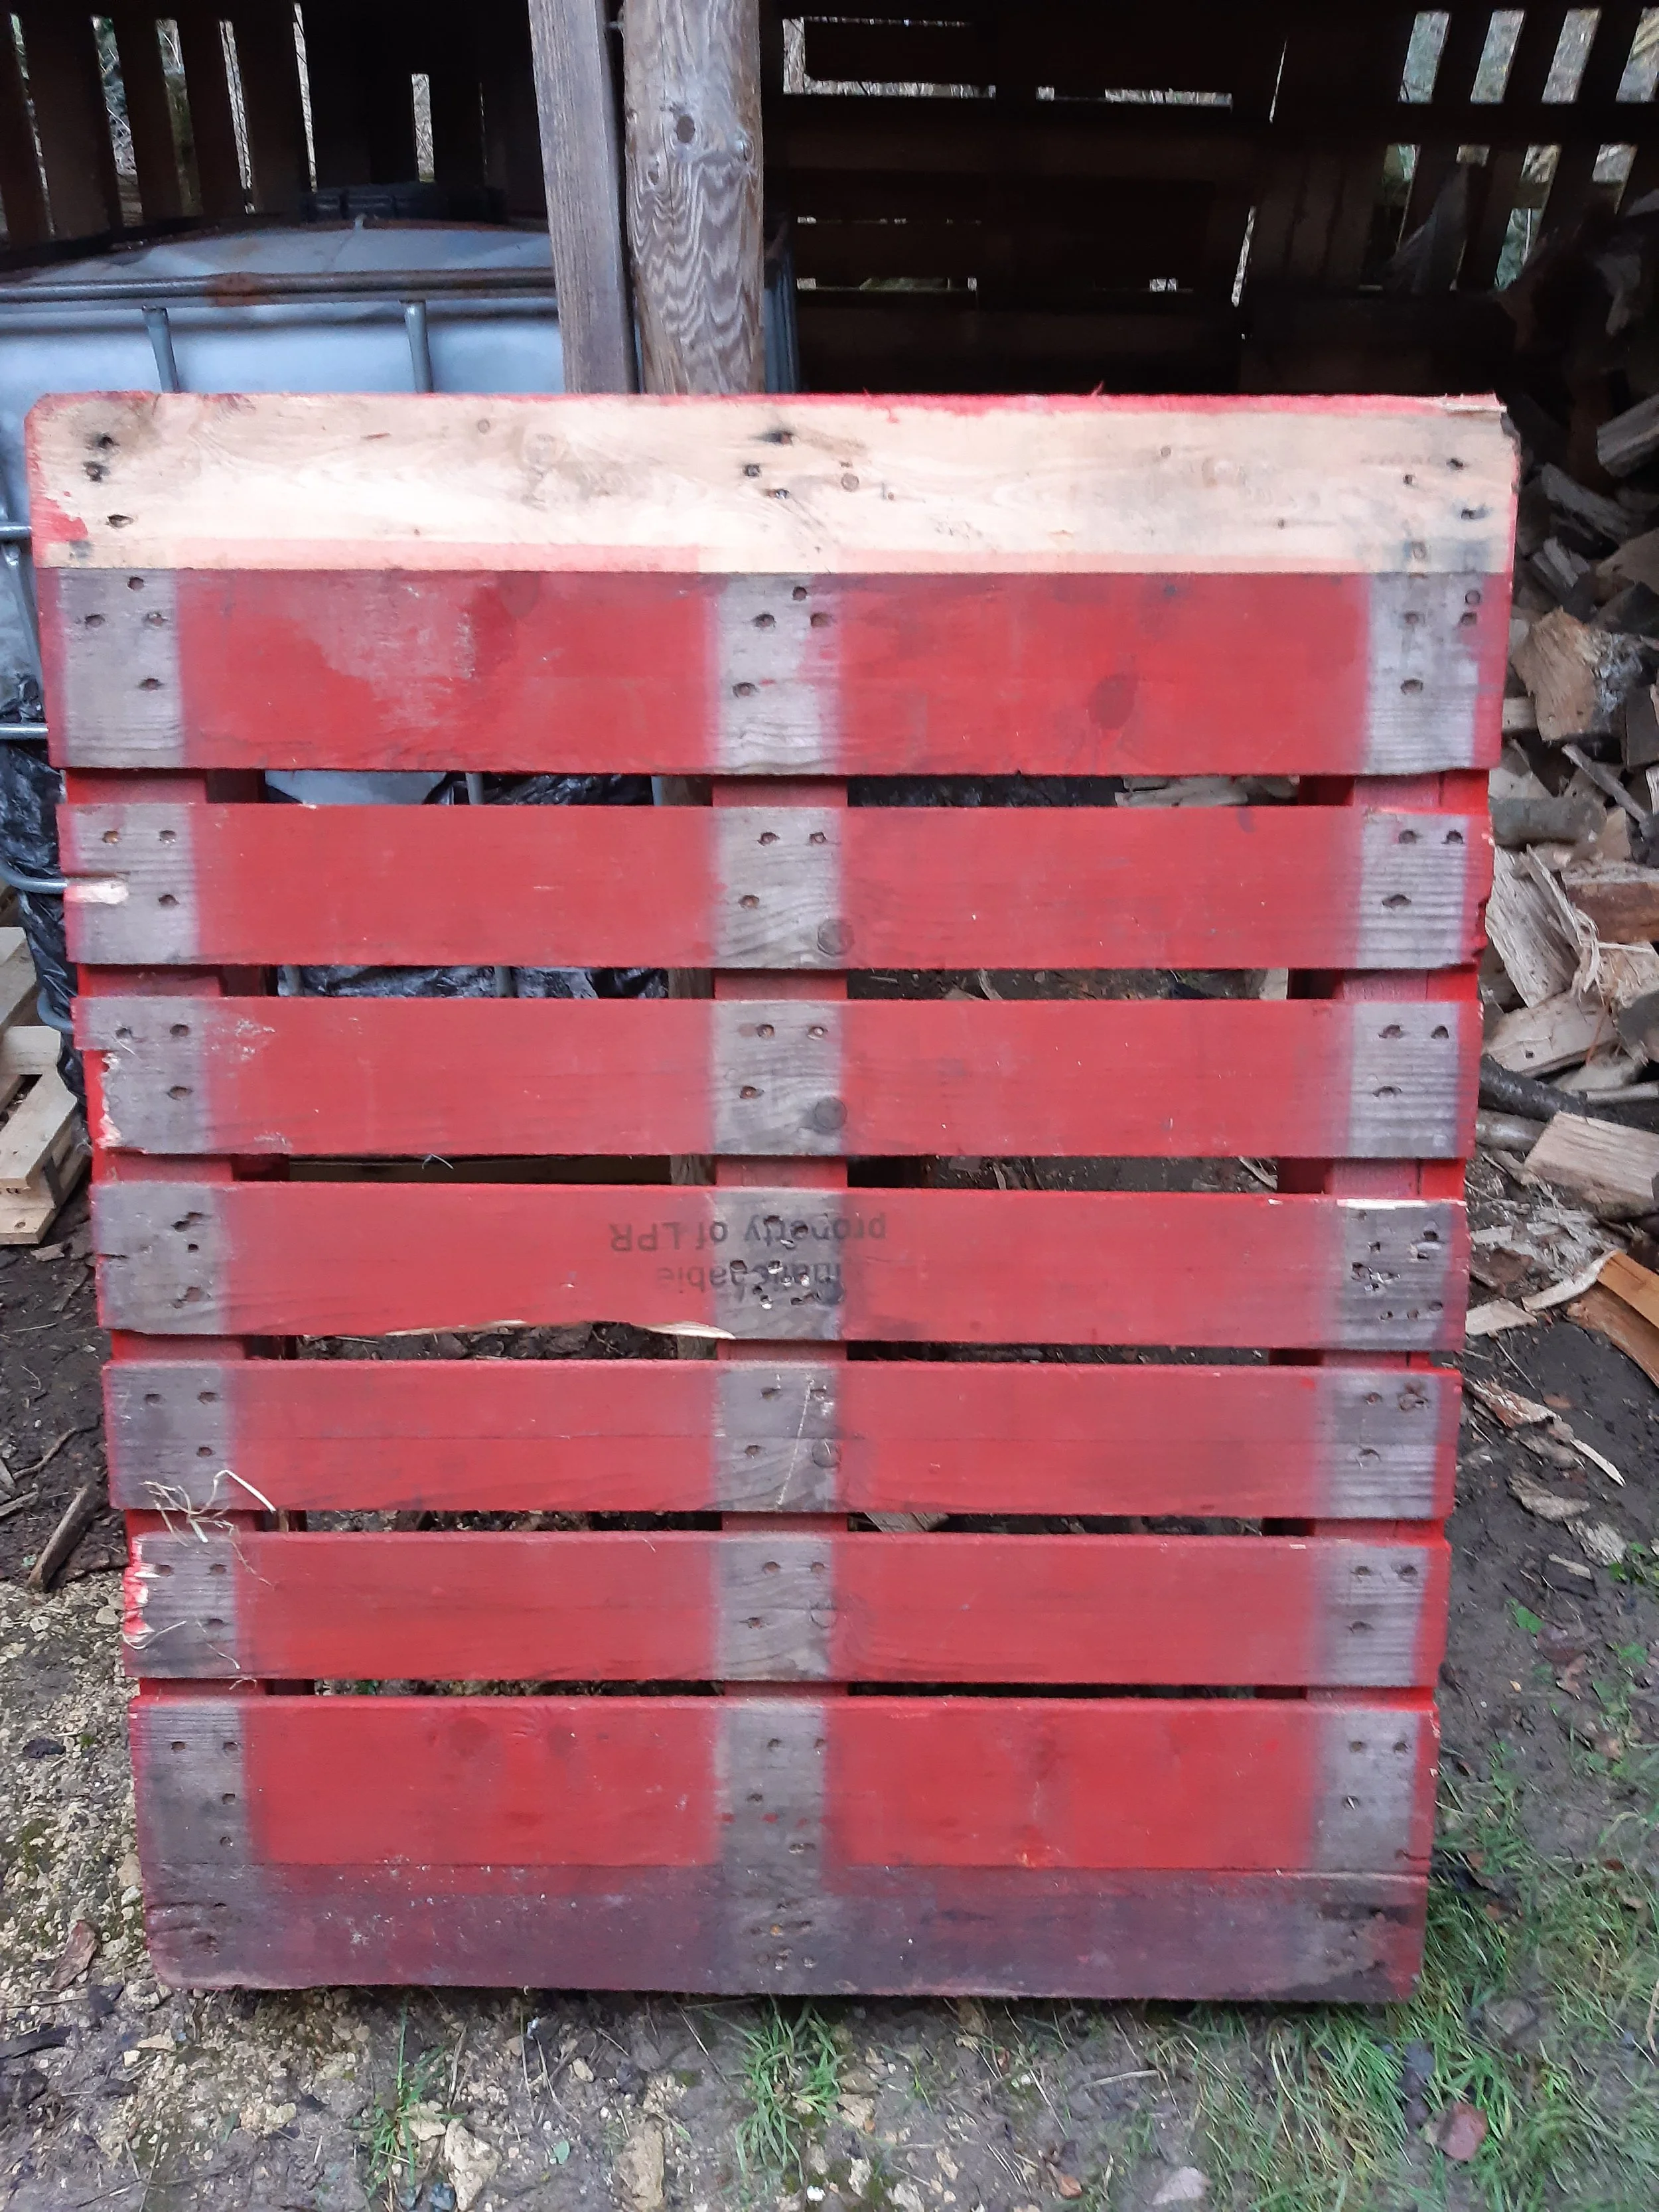
01 Find a suitable pallet
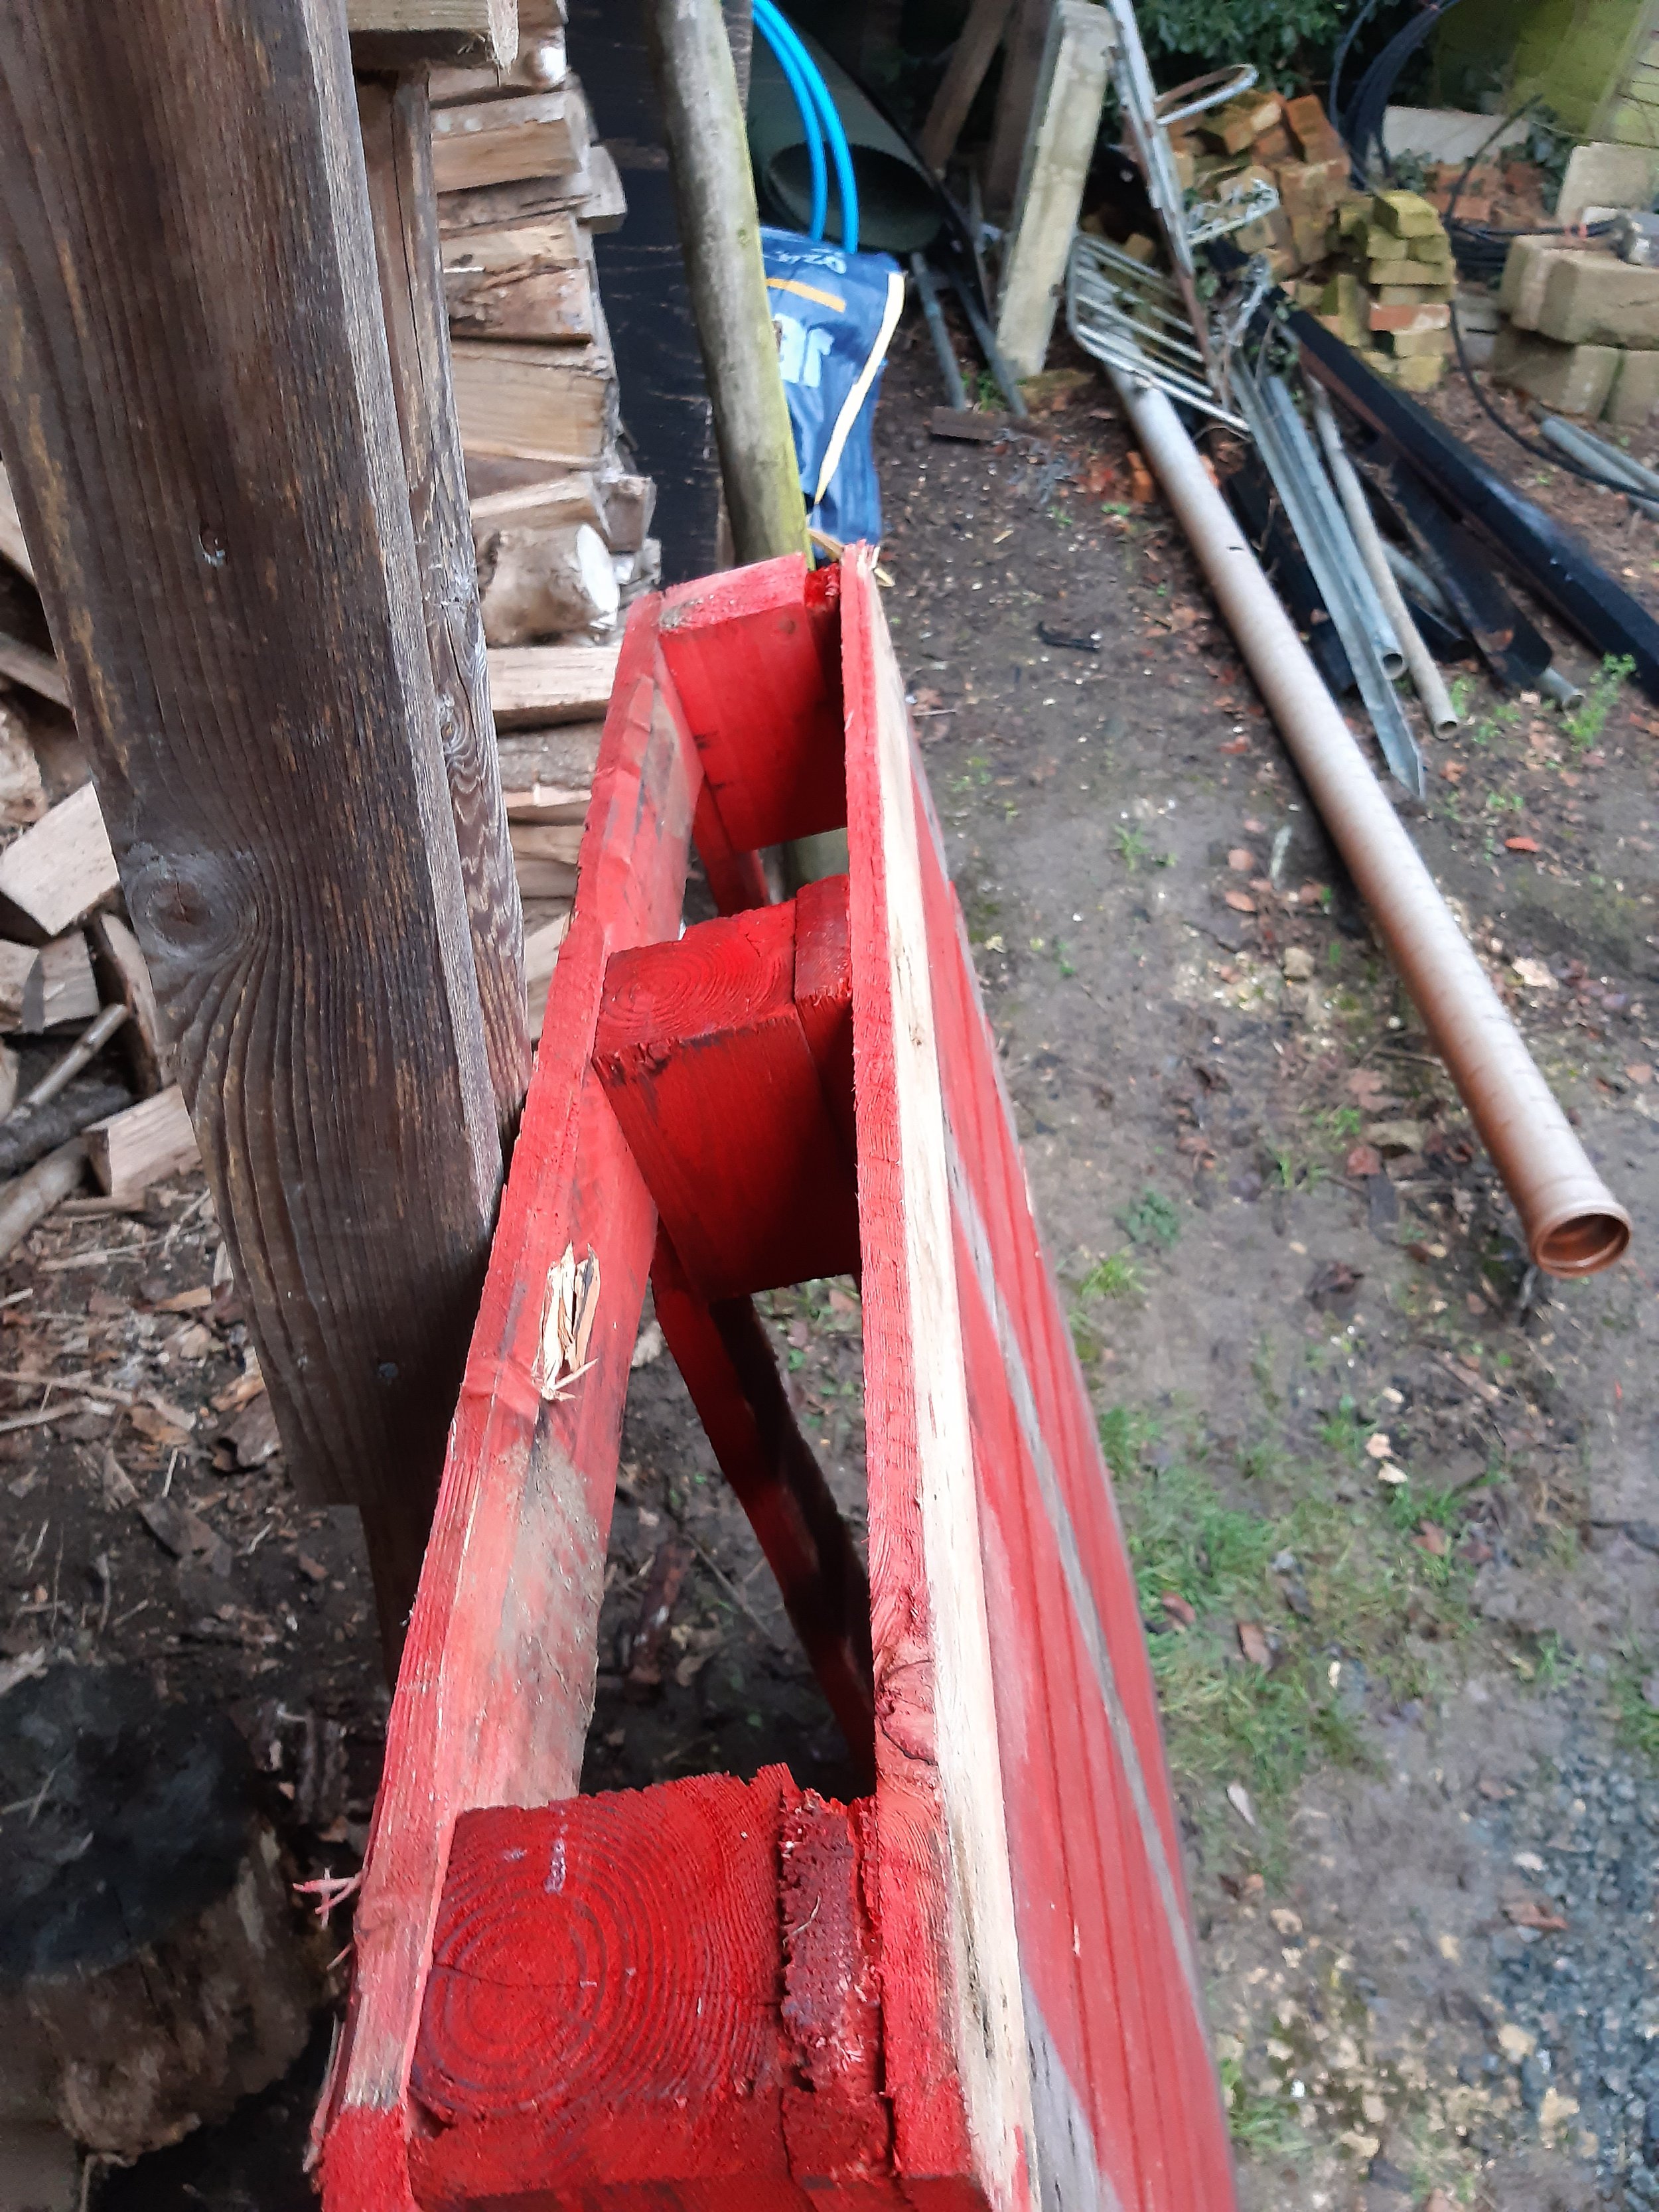
02 A suitable pallet showing the centre internal support. This will form one side of the milking stand base.

03 Cut lengthways along one side of the central internal support.
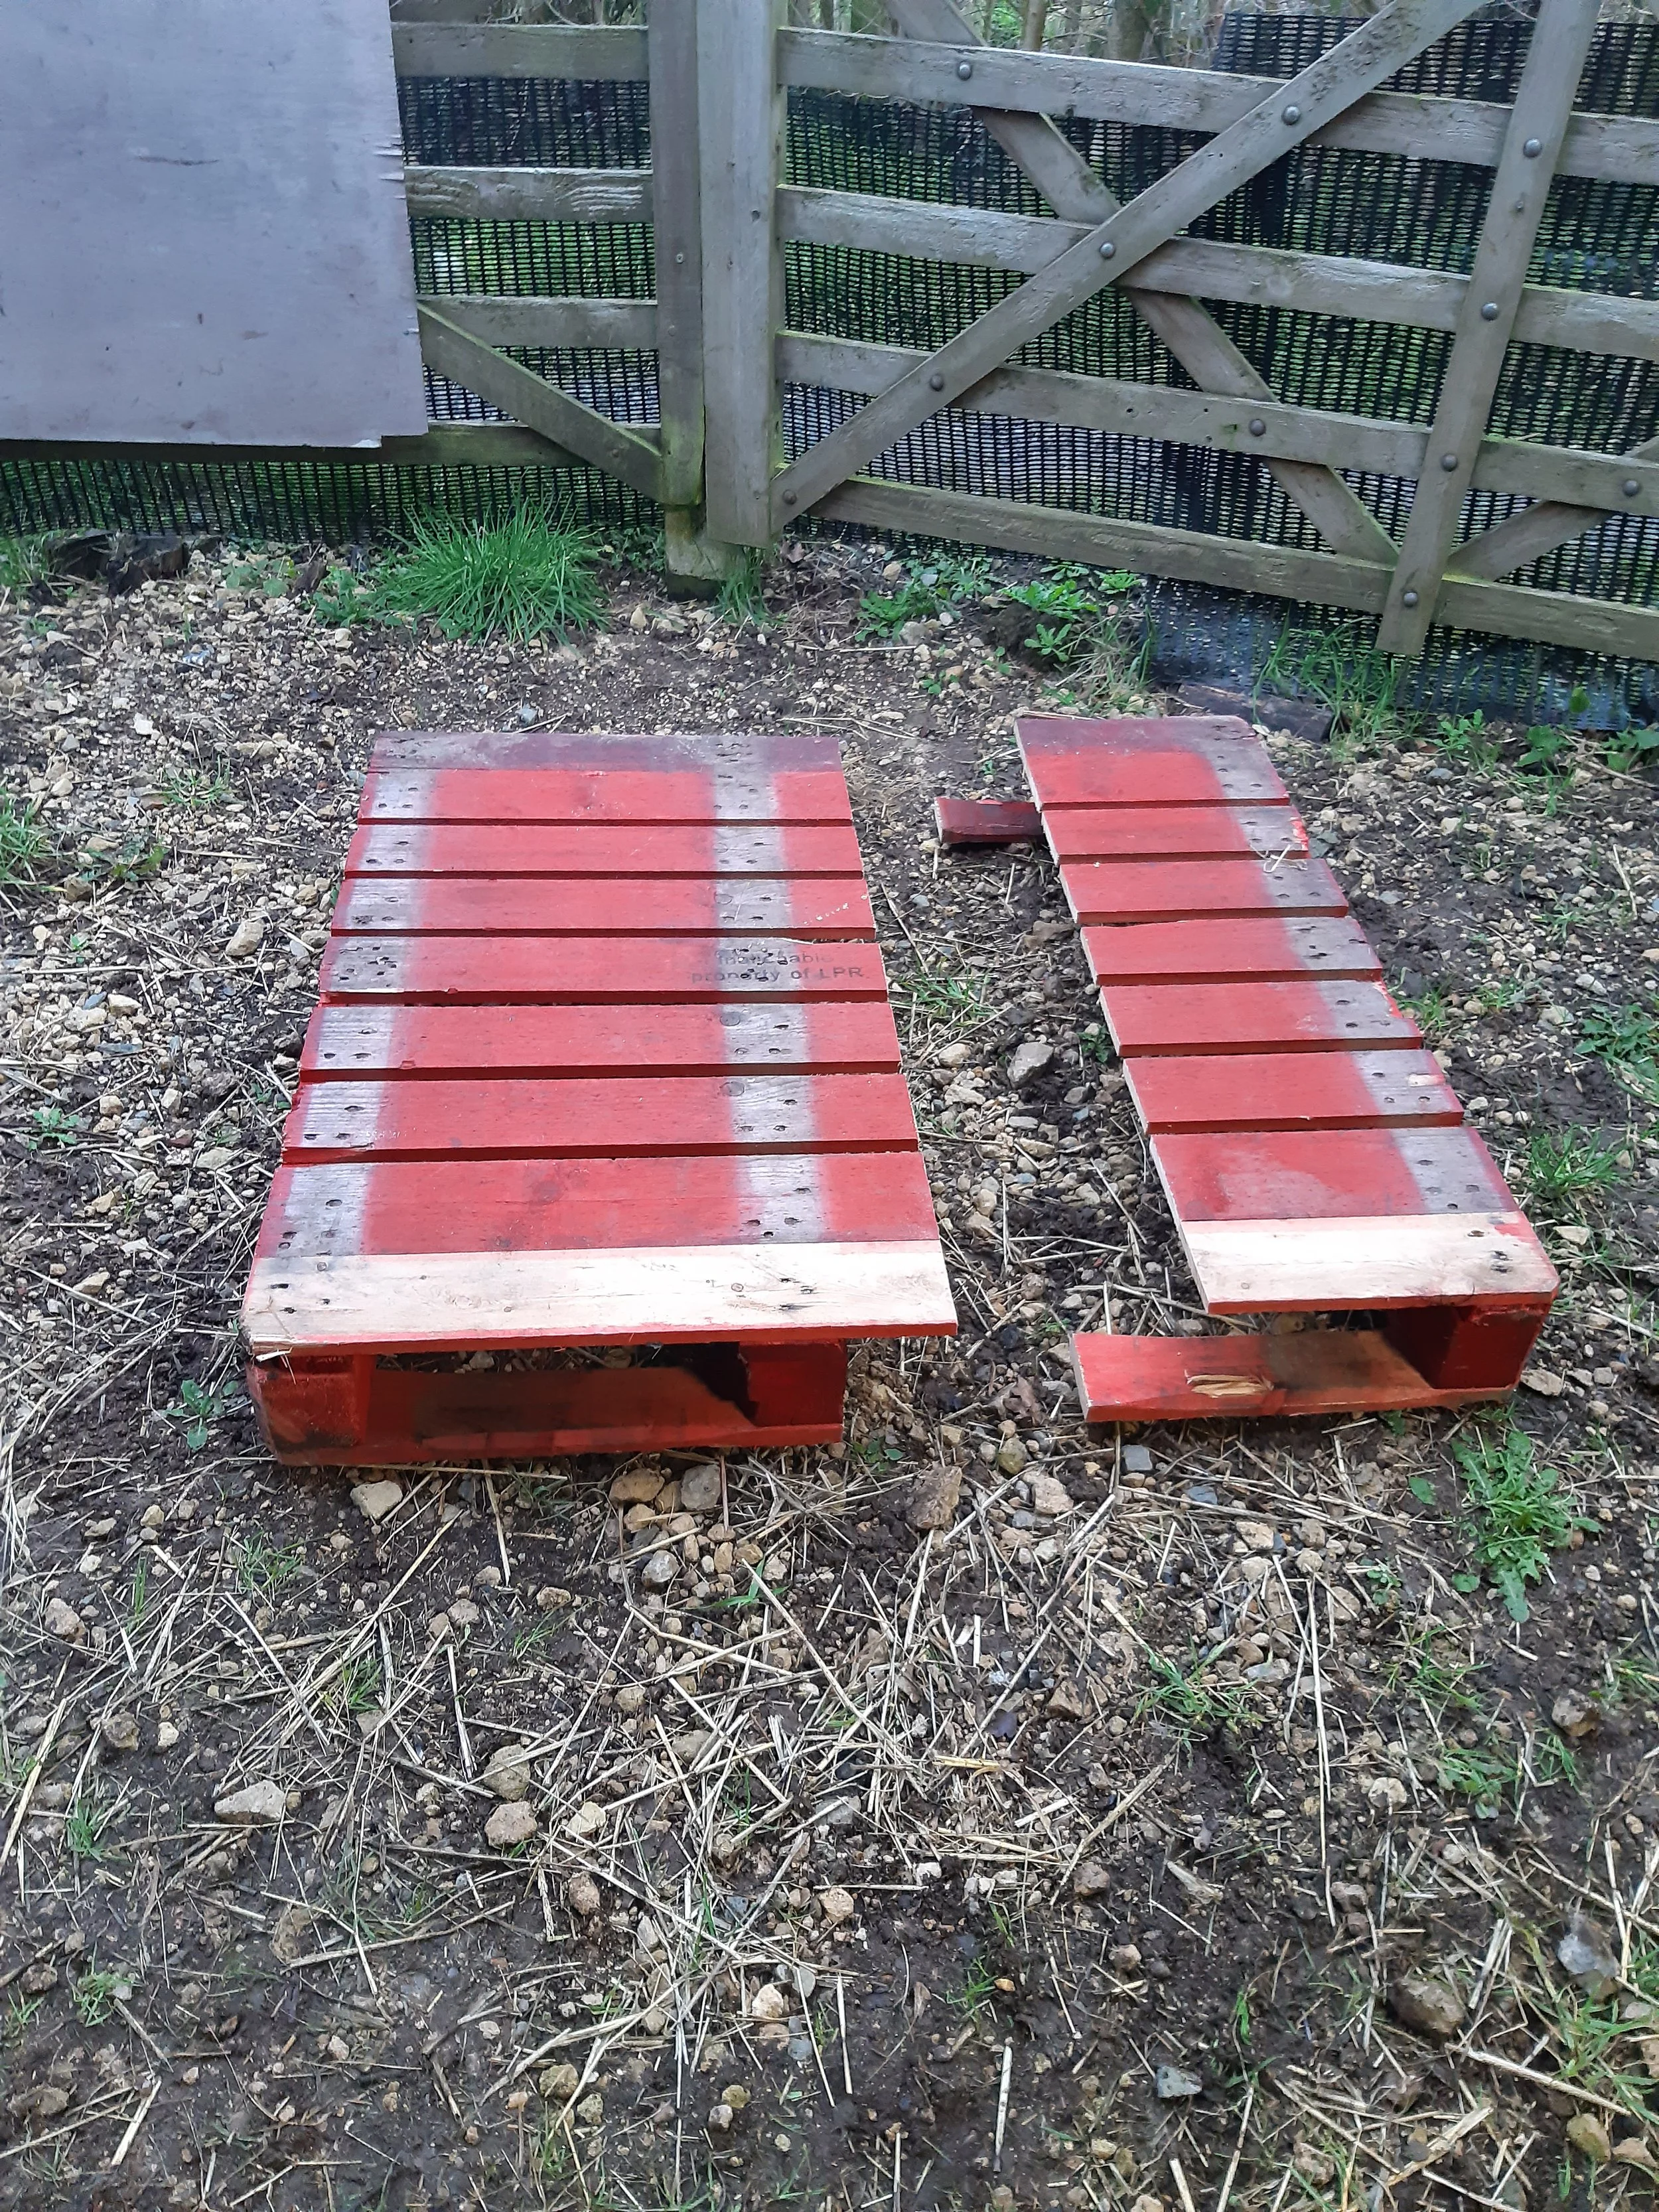
04 The pallet has now been cut

05 Using fencing rail, fit four legs (height is personal choice). The side towards the camera is slightly overhanging the rear leg so the milker can sit comfortably when milking.
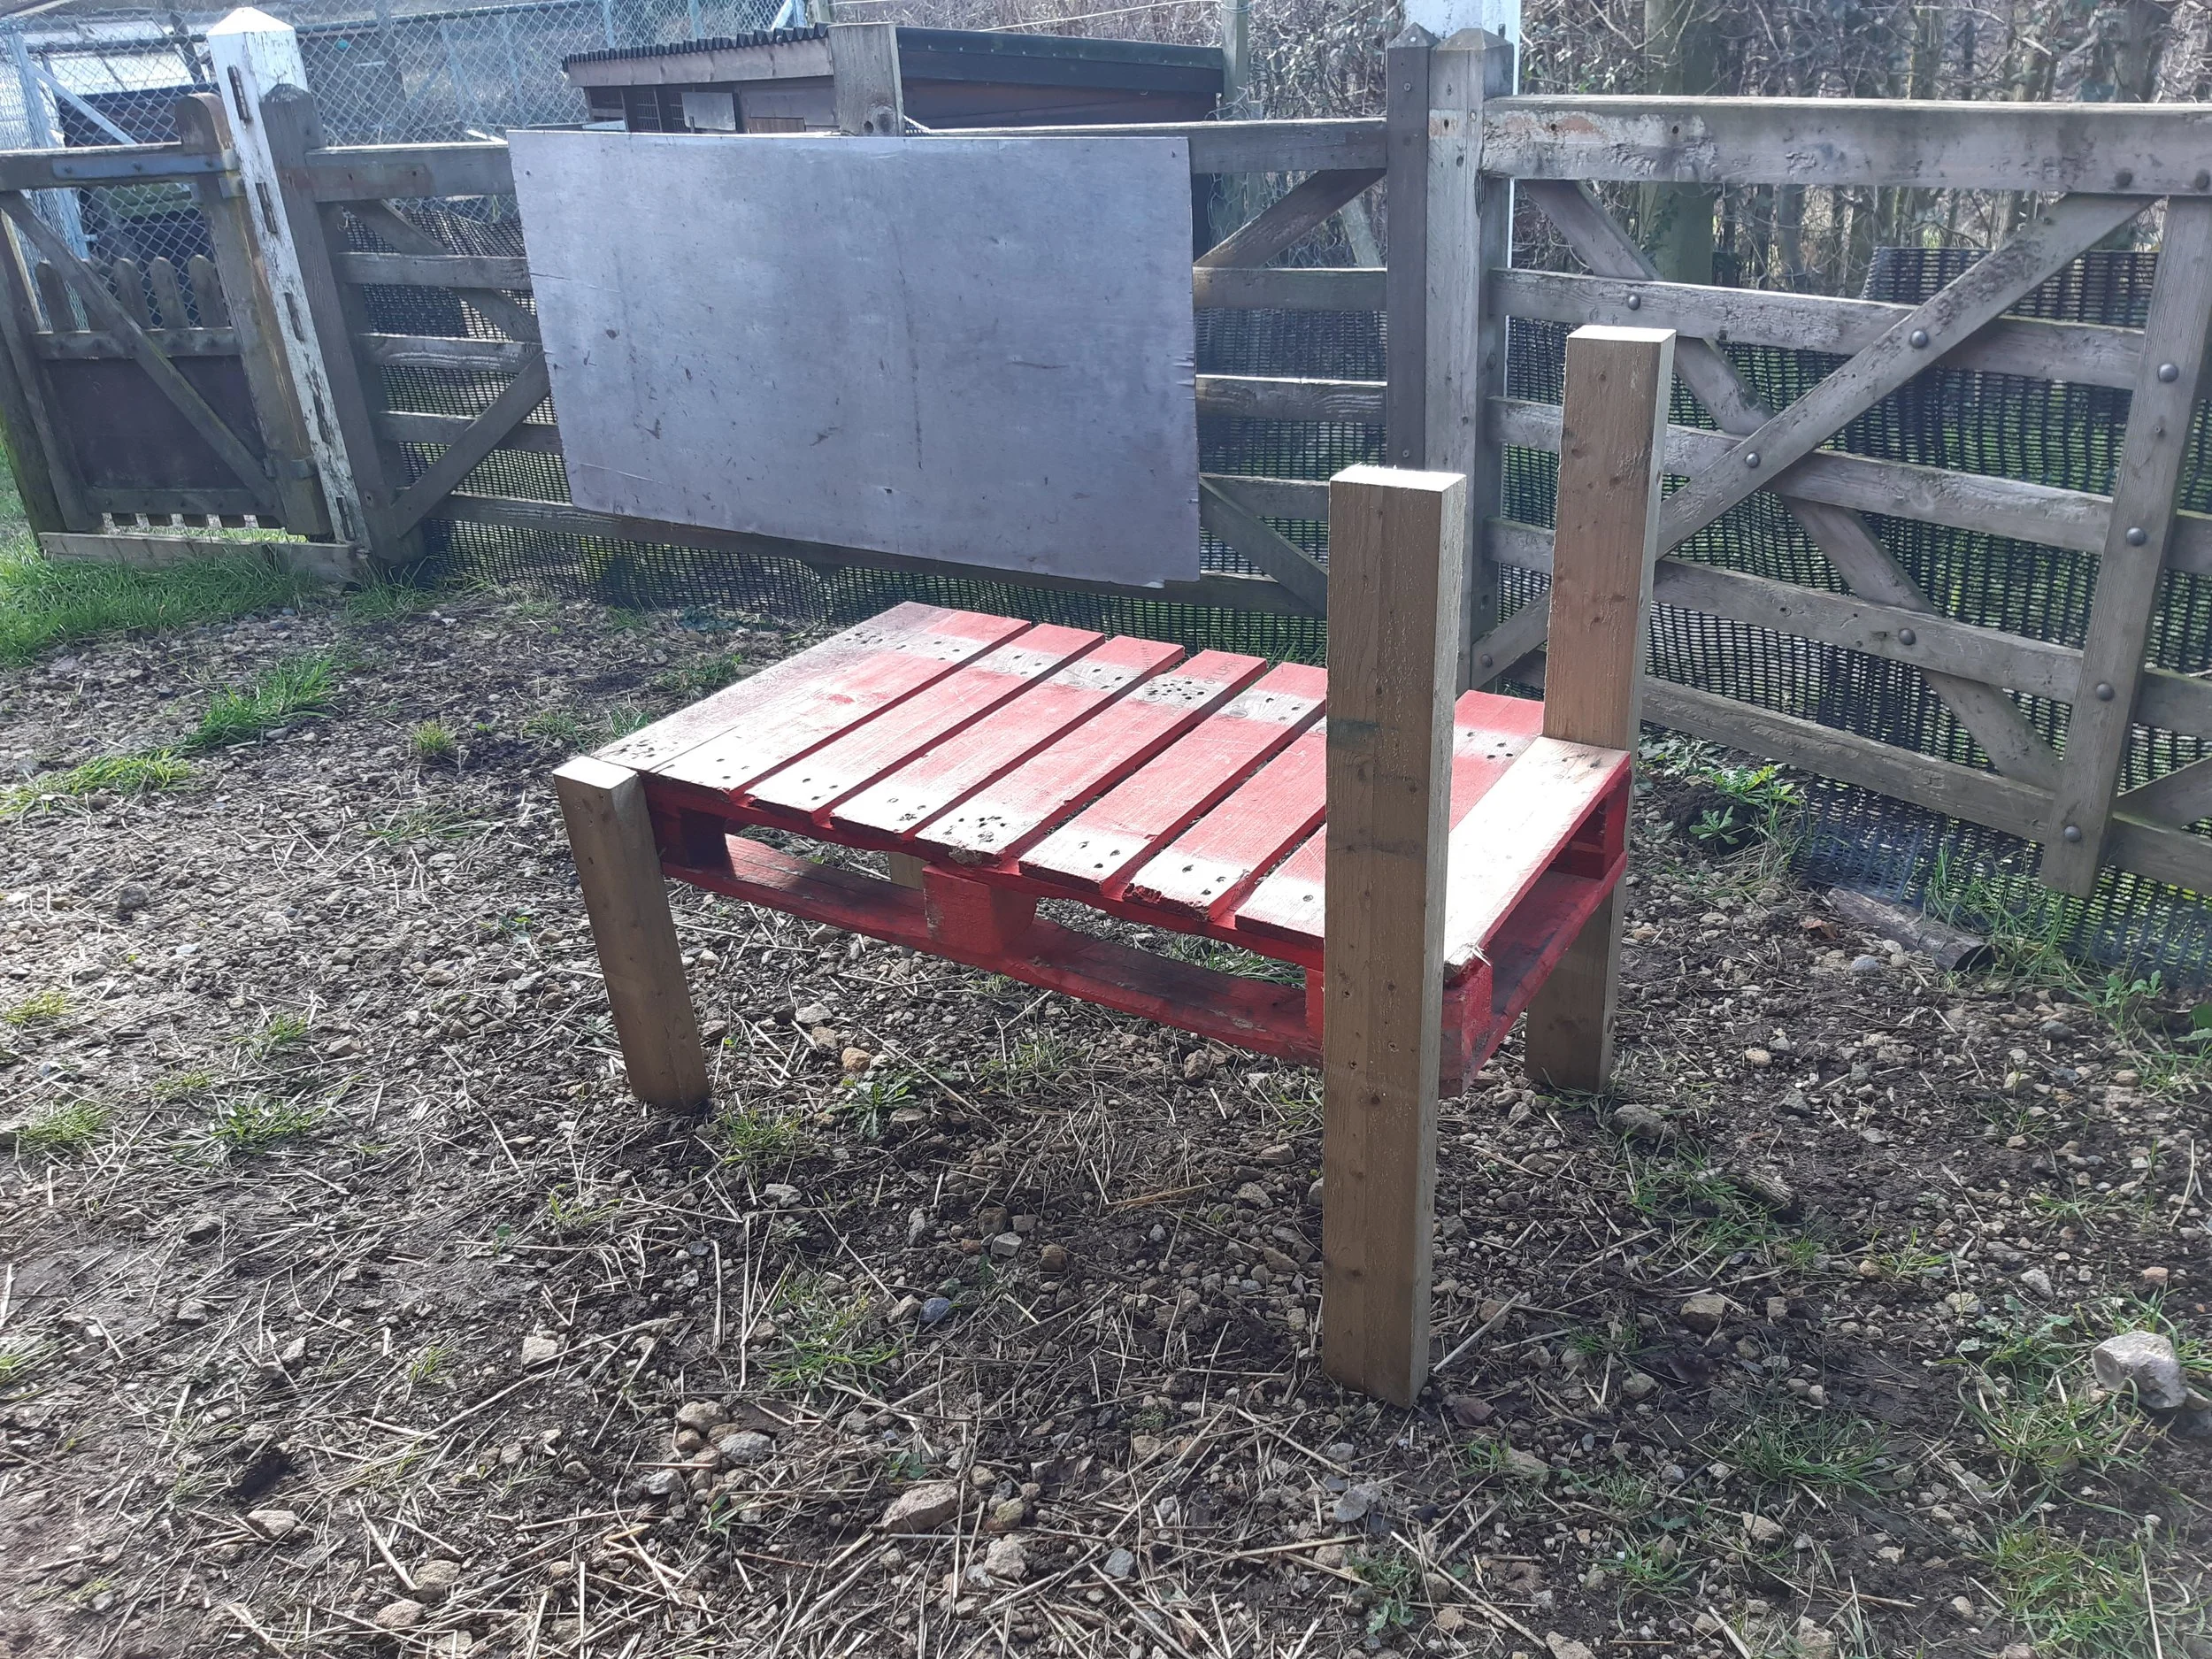
06 The front two legs extend higher as shown.

07 Another view showing how the legs are fitted

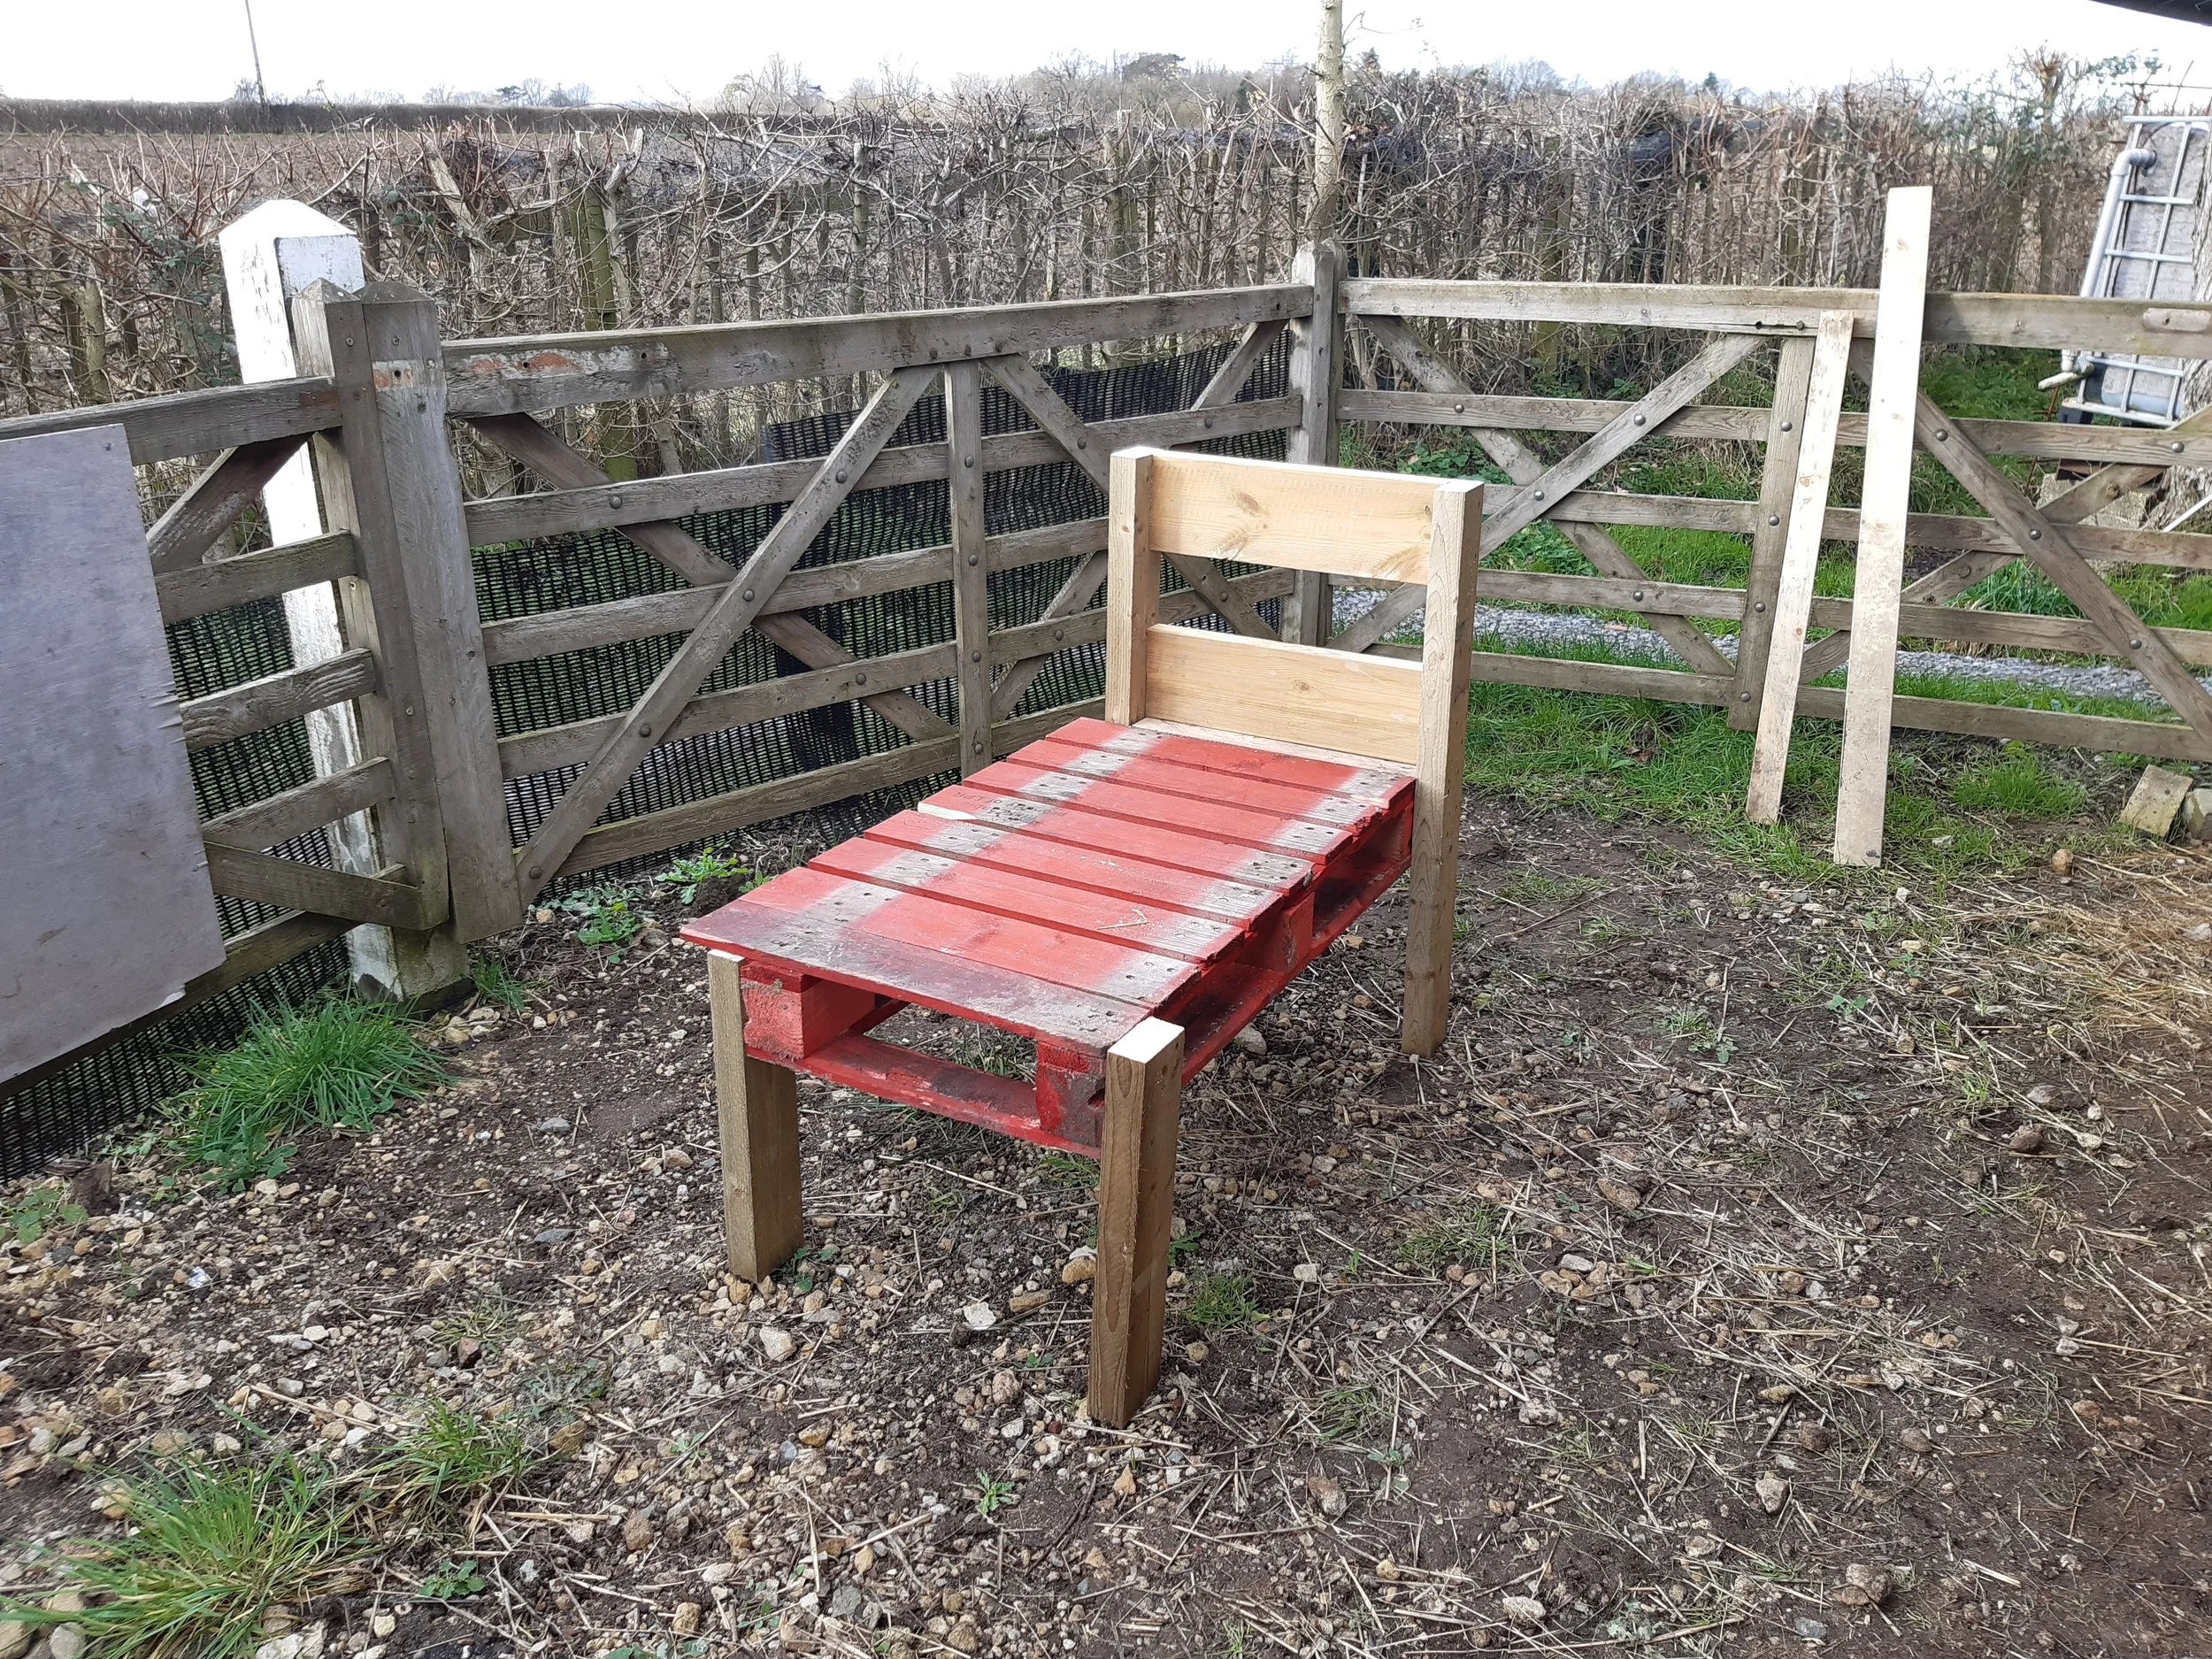
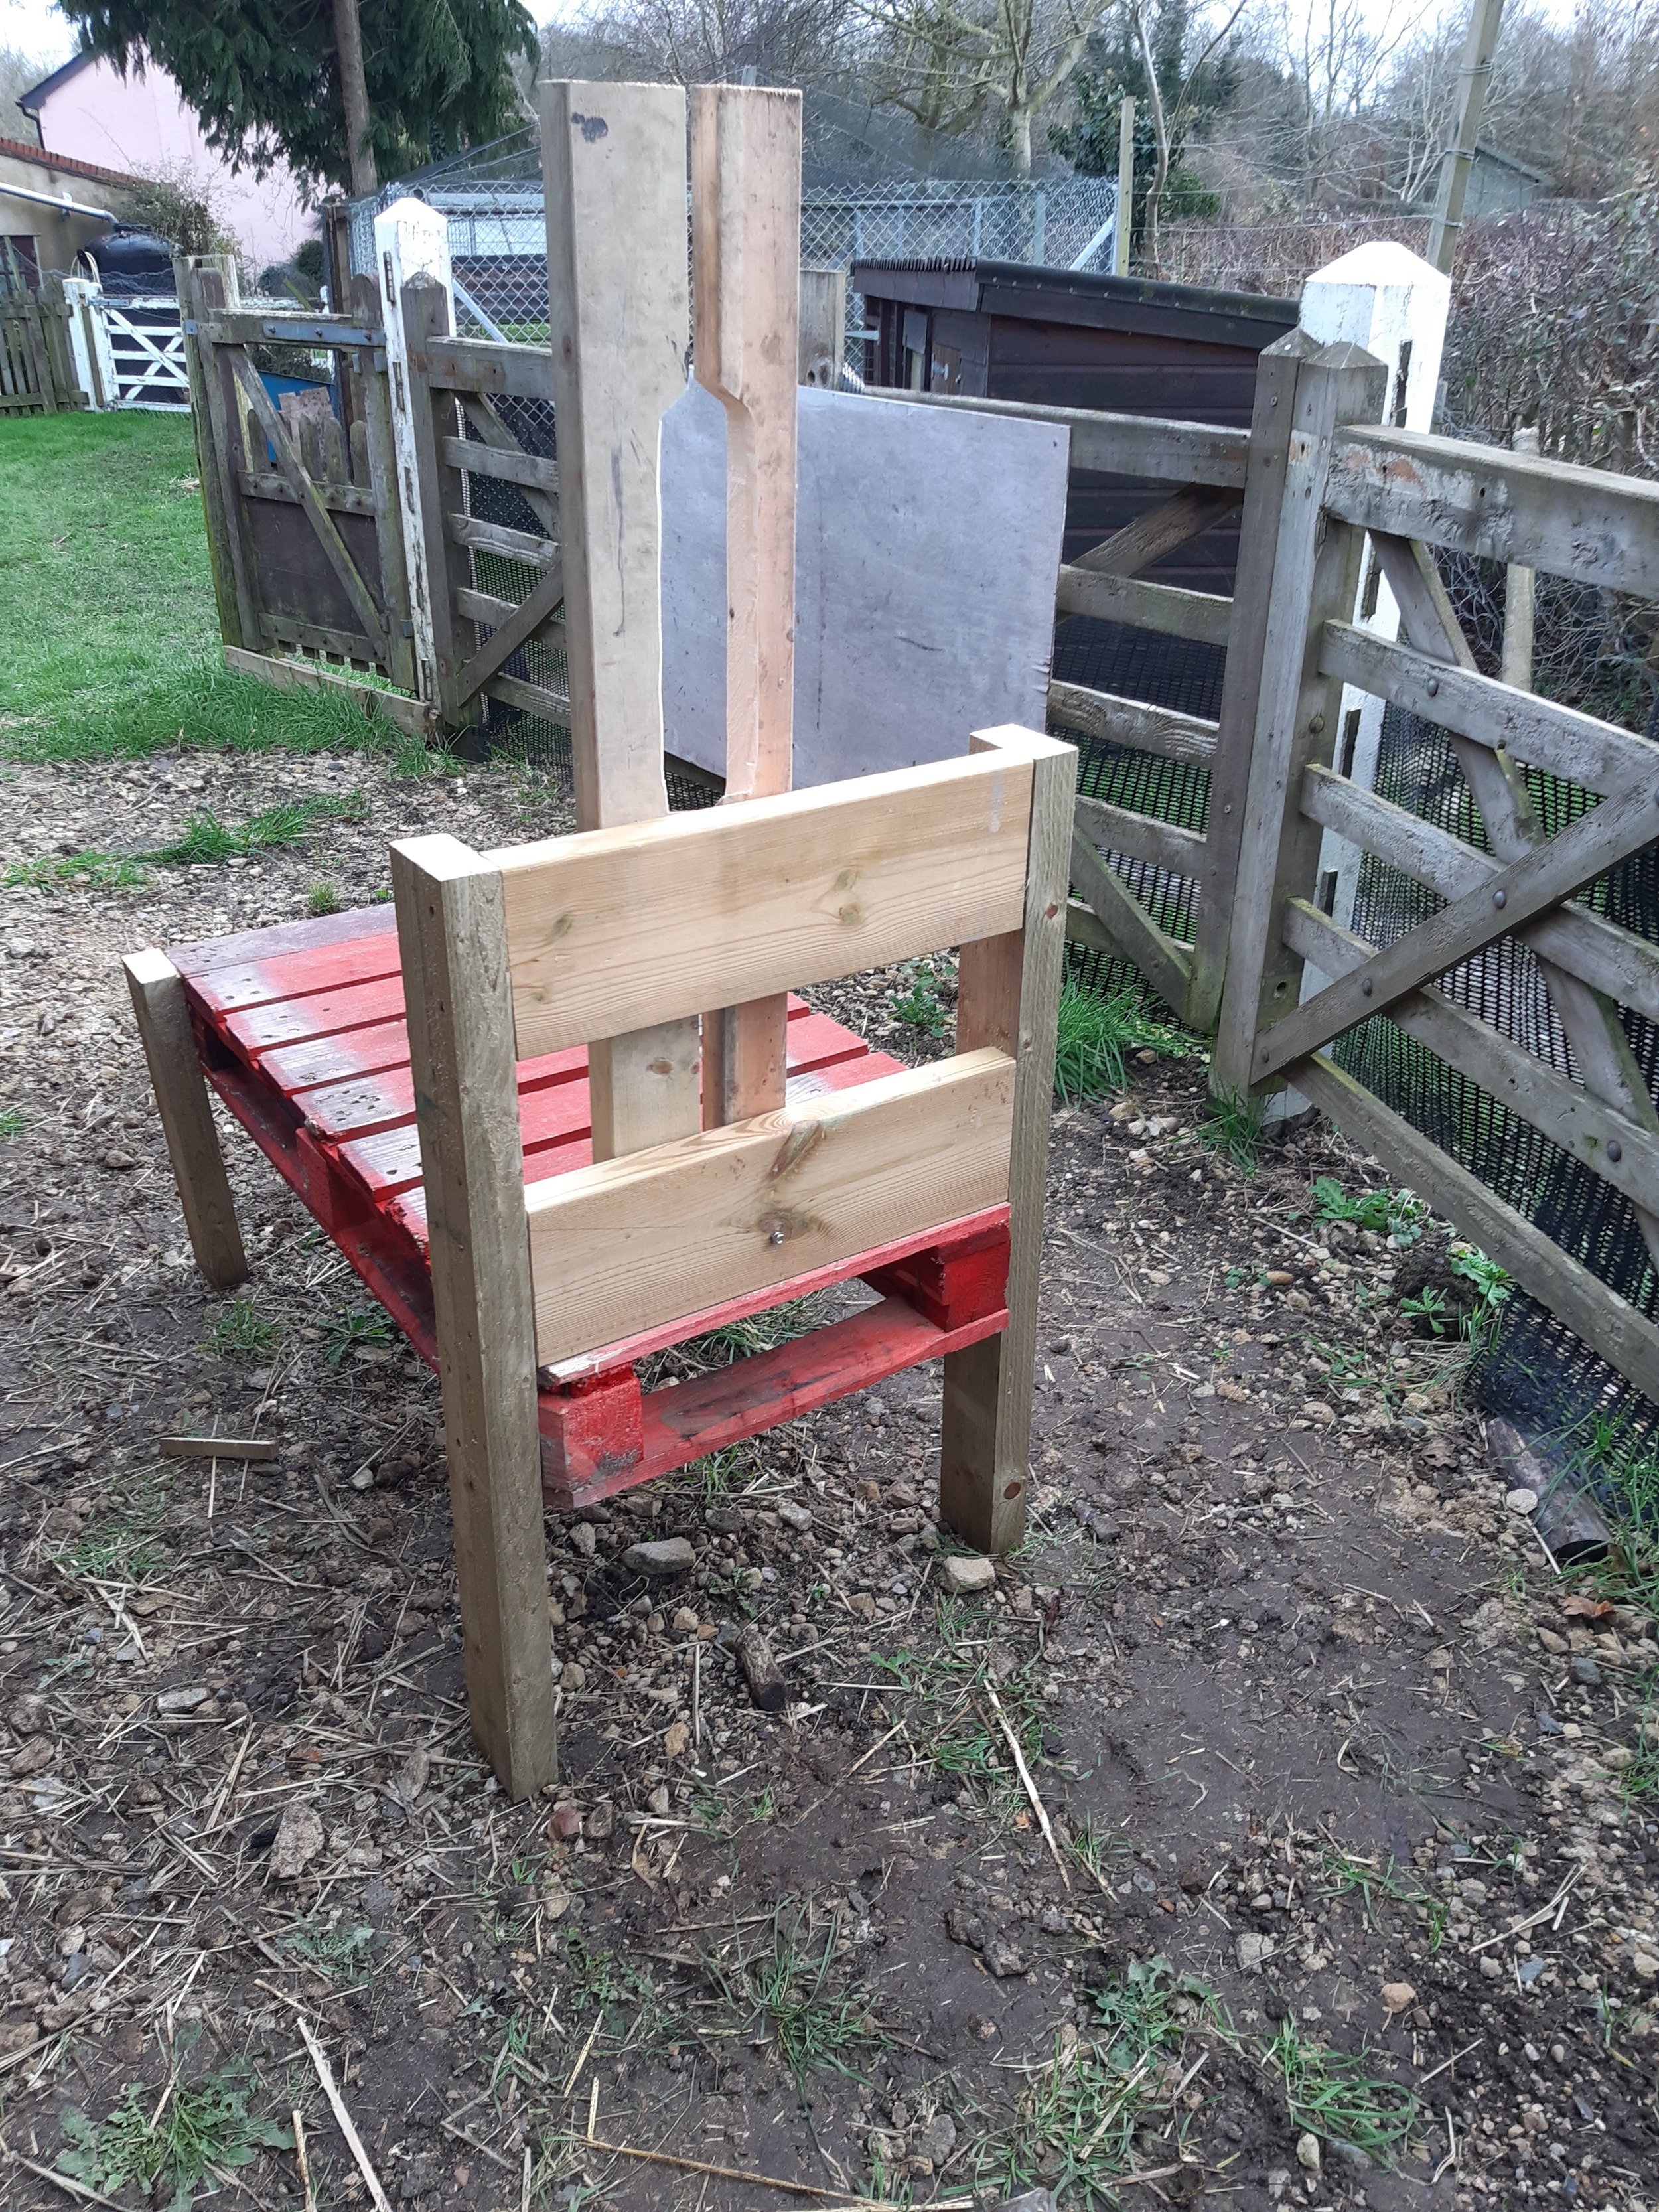
08 Boarding fitted across the front
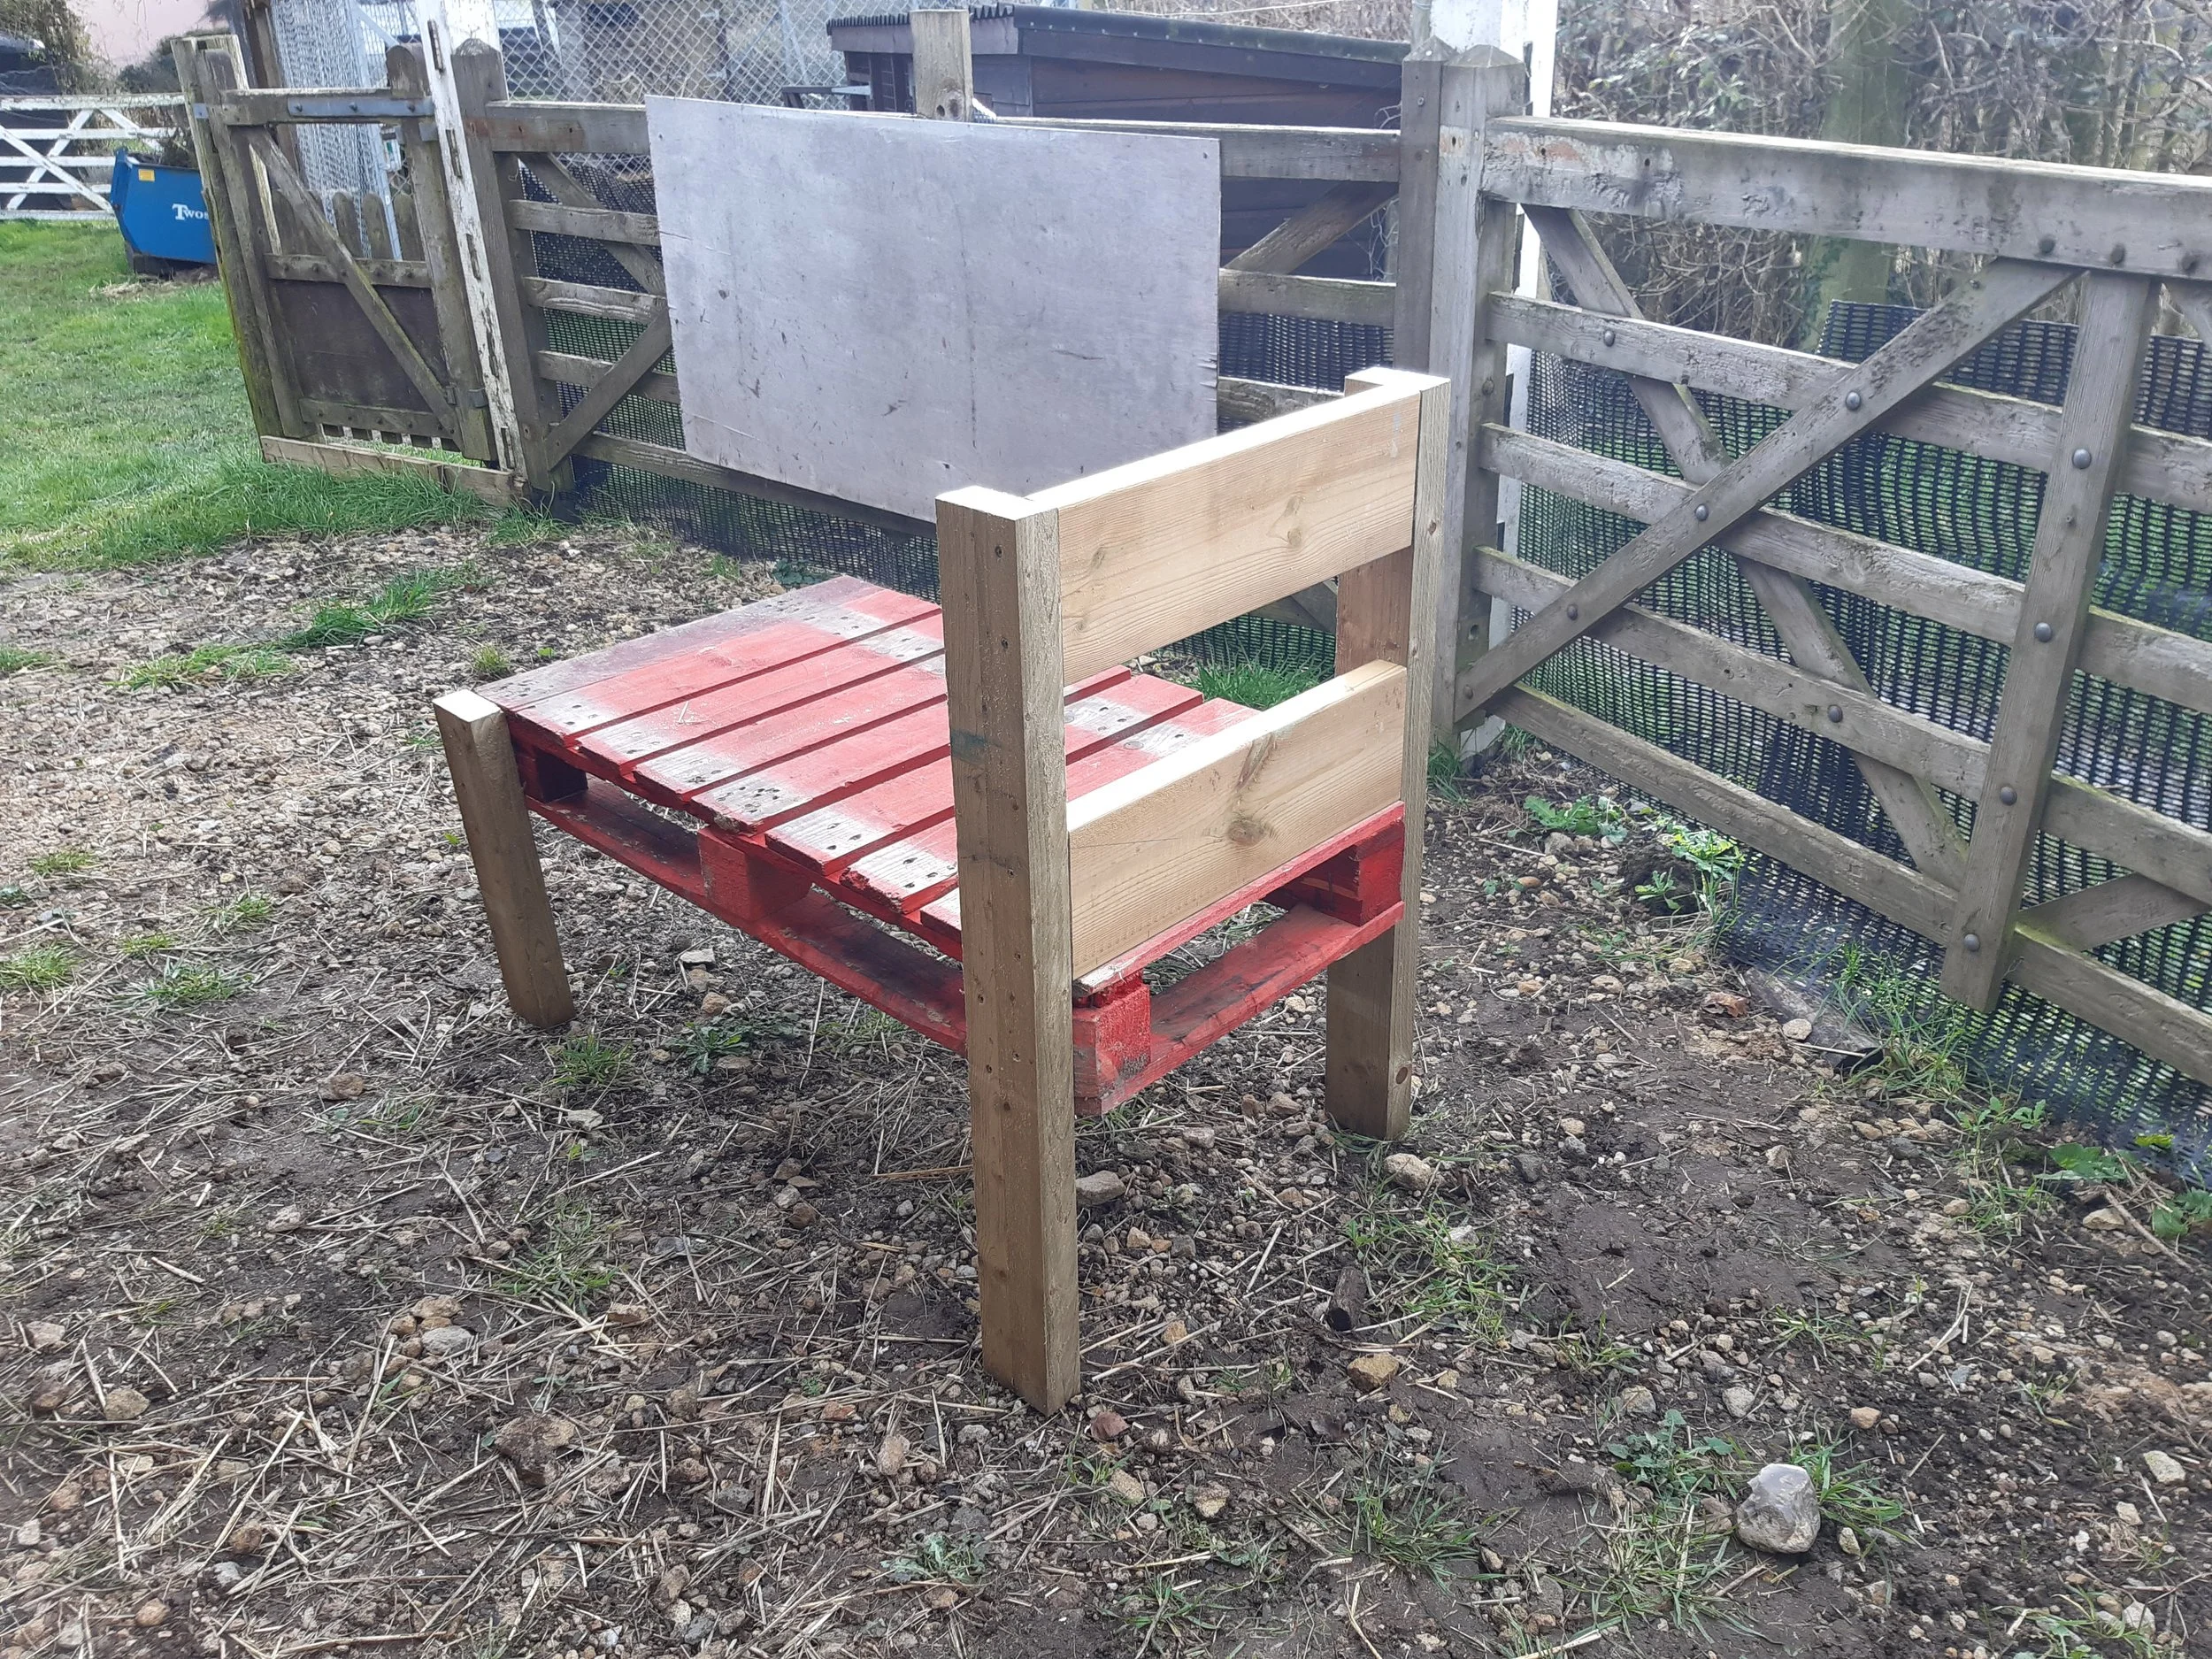
09 View from the front
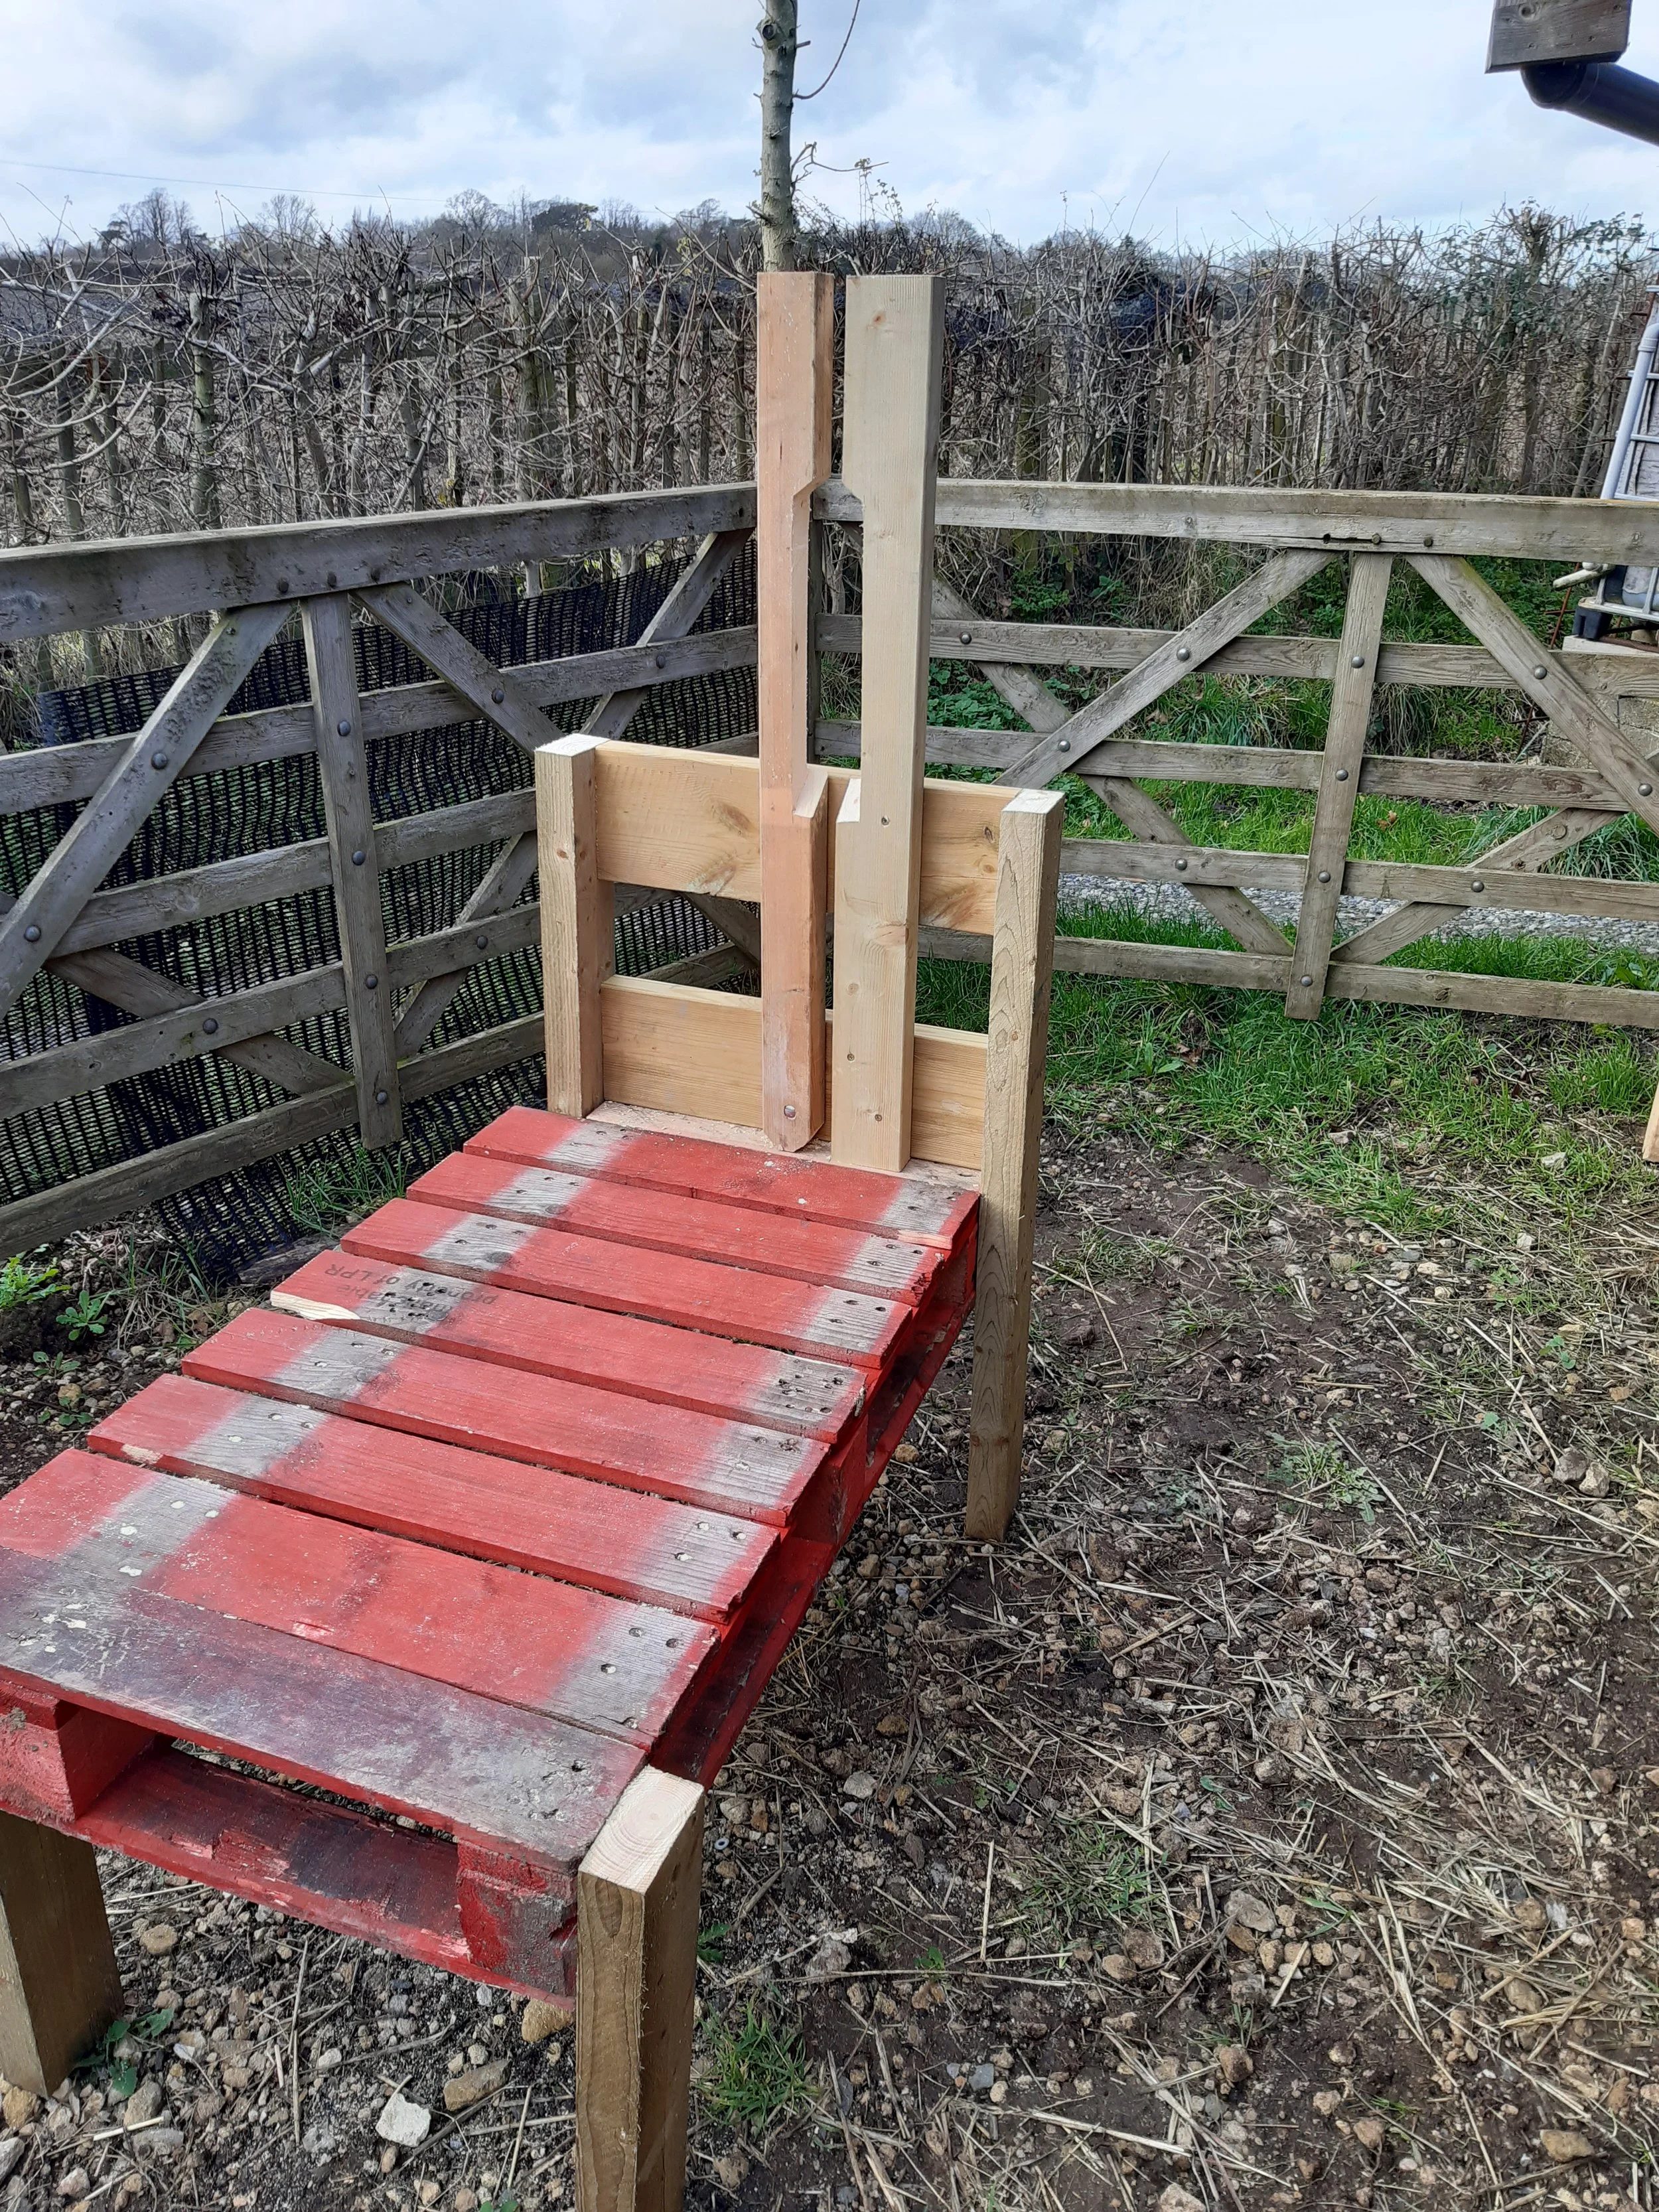
10 Creating the head yoke from two pieces of wood. The final shape will be determined by the size of your goats.
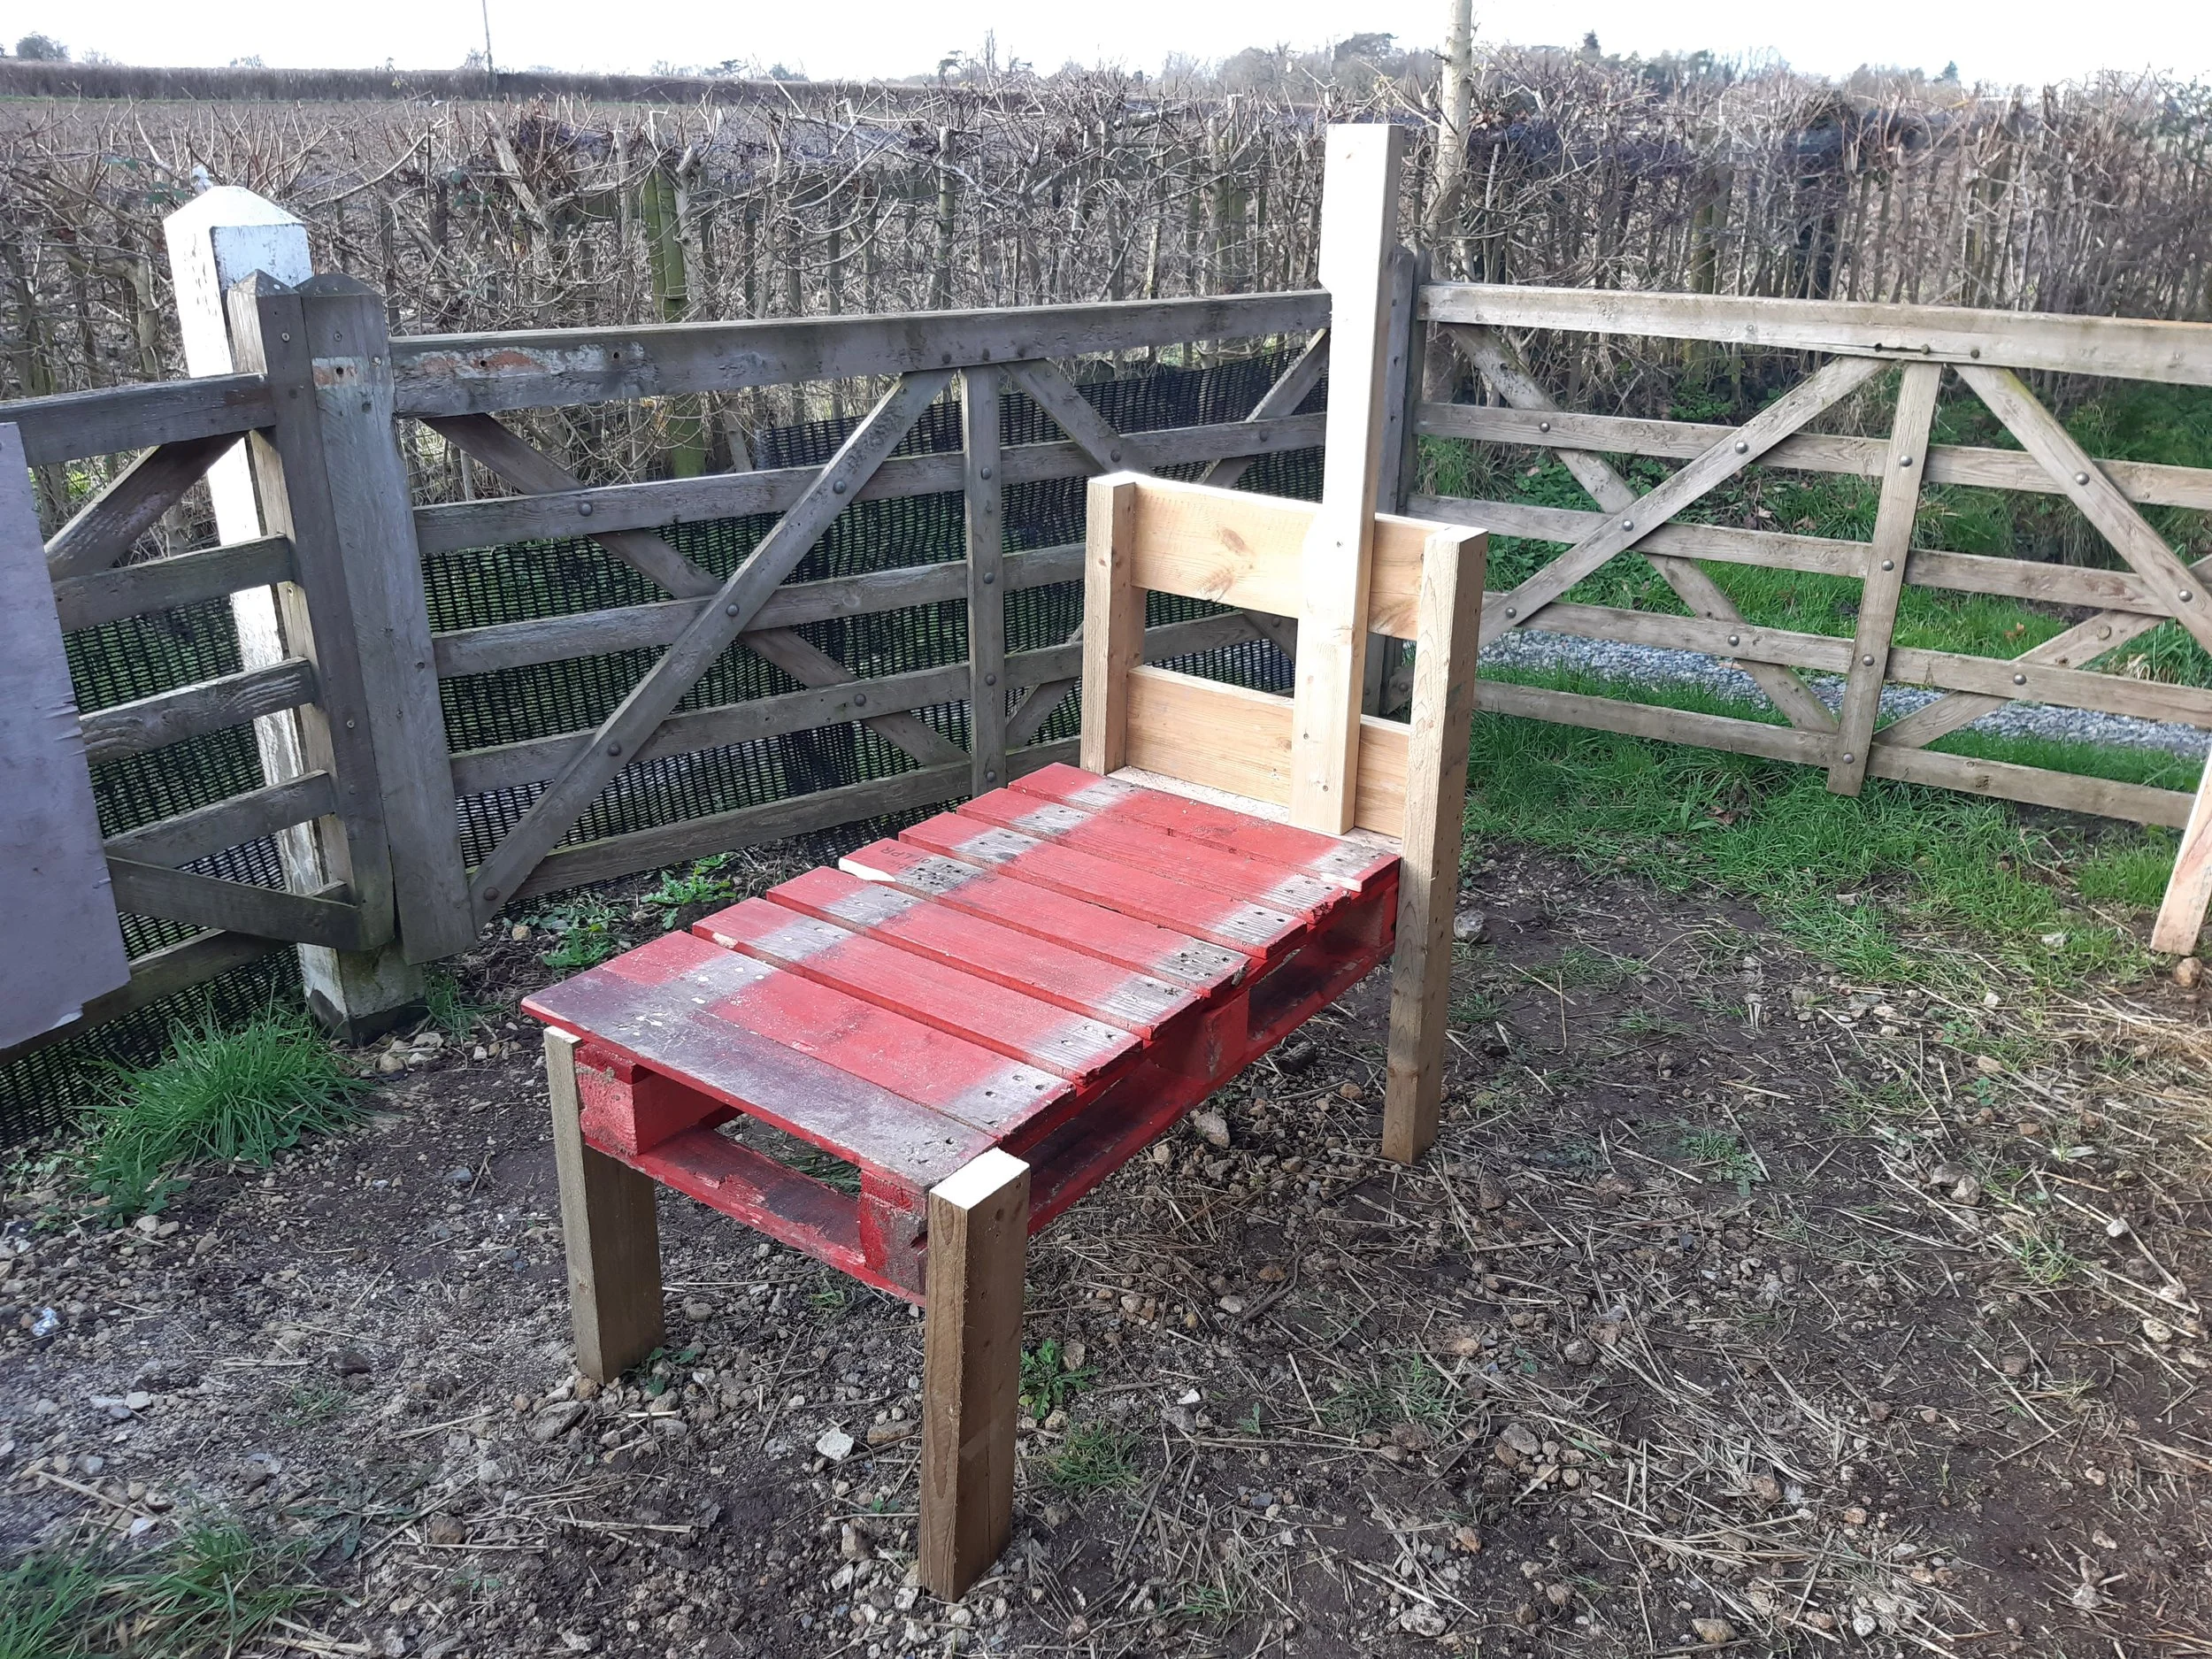
11 Fitting the right hand side of the head yoke. This one is fixed and doesn’t move.

12 Showing the detail of how the right hand side of the yoke is shaped.
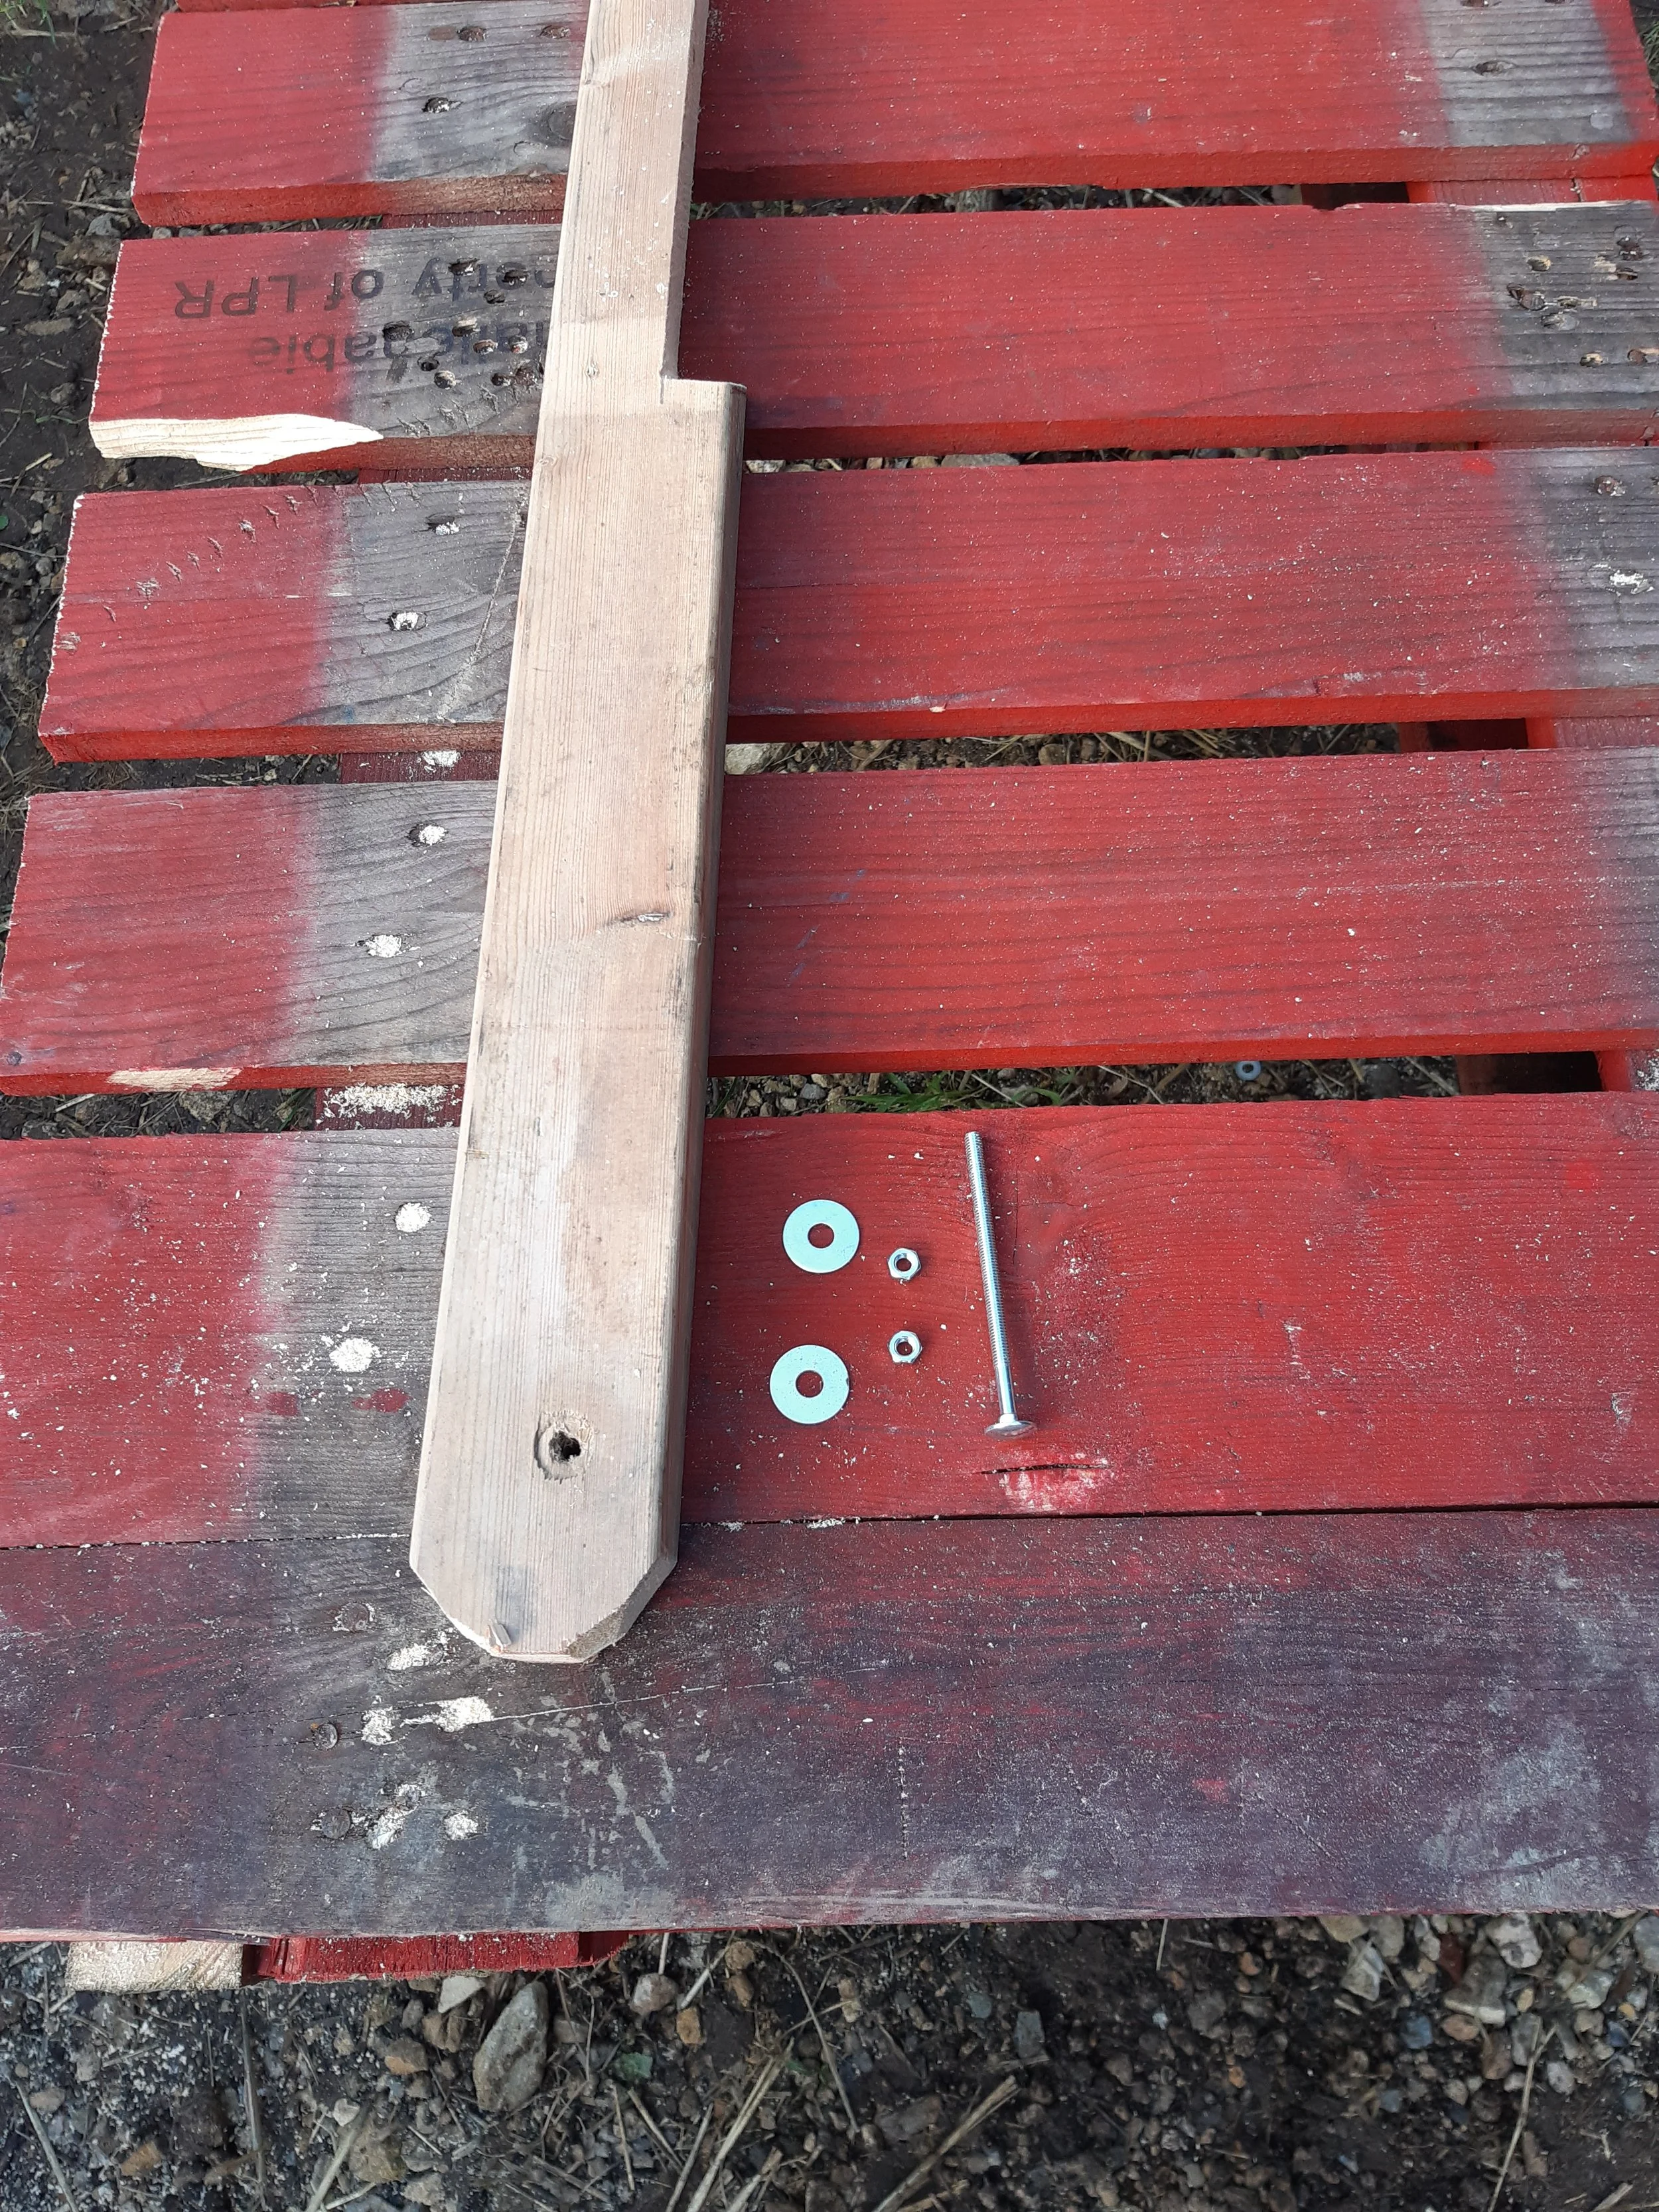
13 Bolt, washers and nuts required to create the moving arm of the yoke.
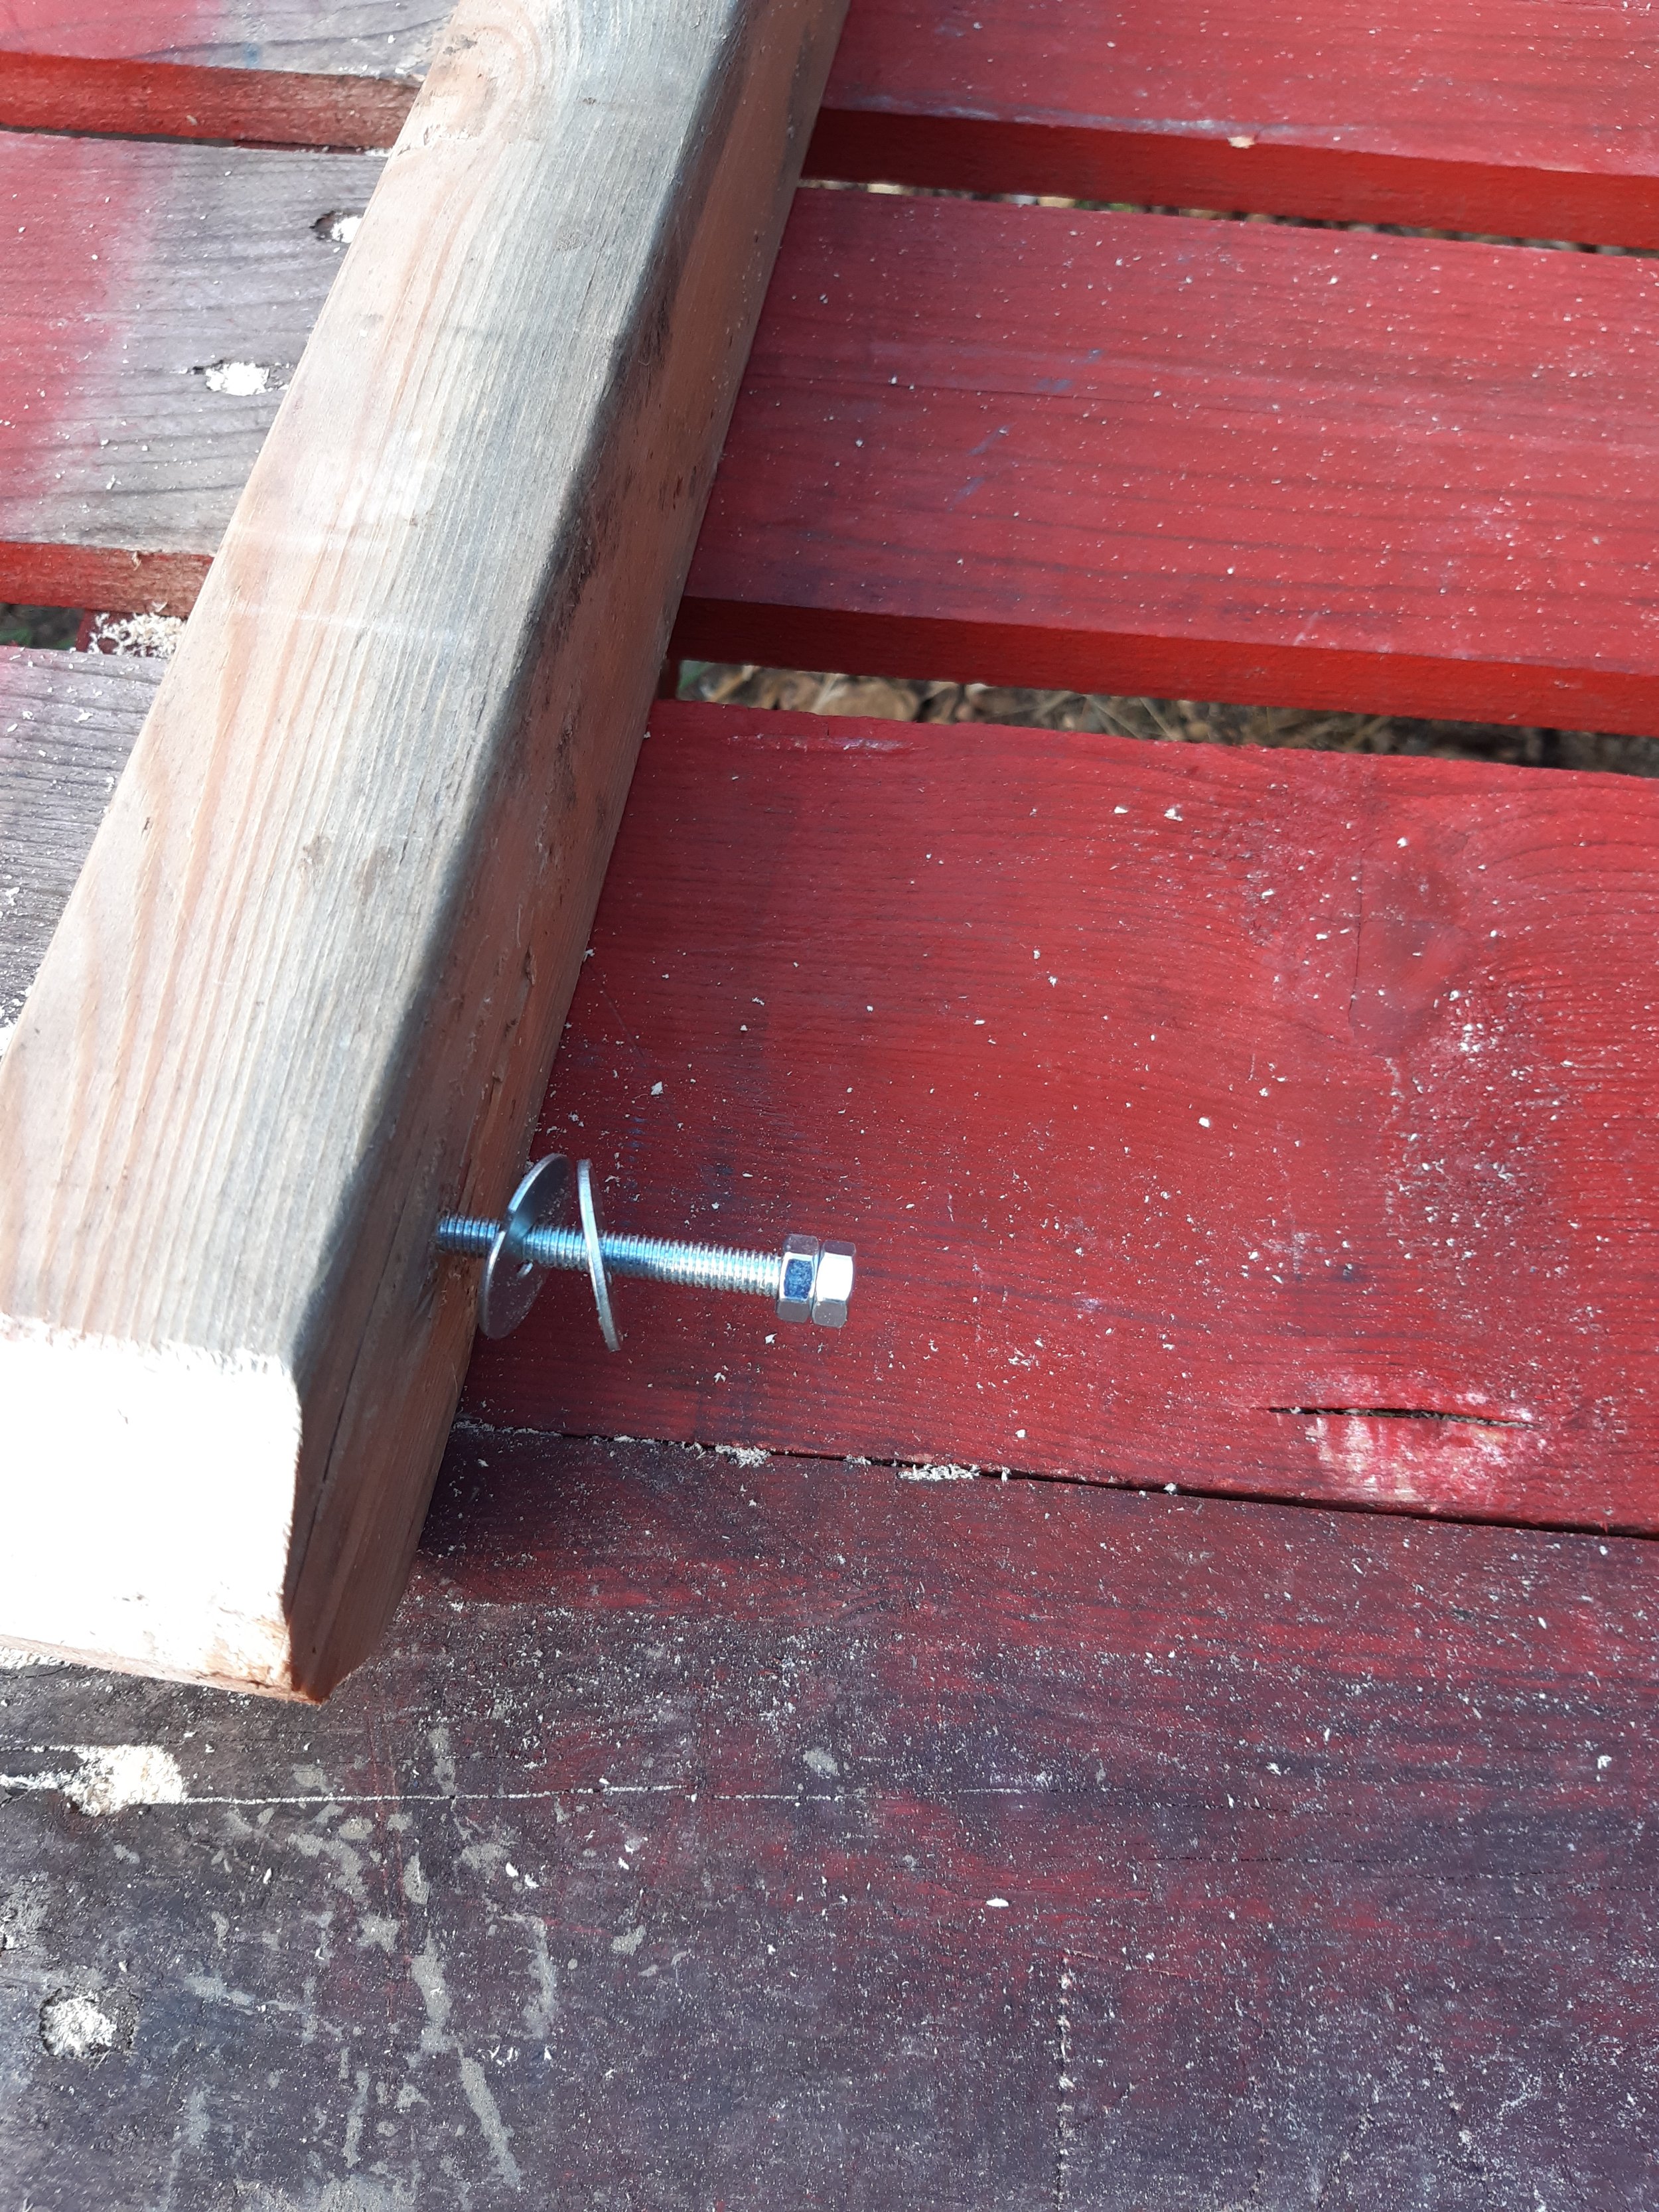
14 How the washers and nuts are arranged on the bolt.

15 The moving arm of the yoke now fitted showing how it is hinged at the bottom using the bolt, washers and nuts.
16 The Yoke in “Closed” position showing how the moving arm is shaped at the bottom.
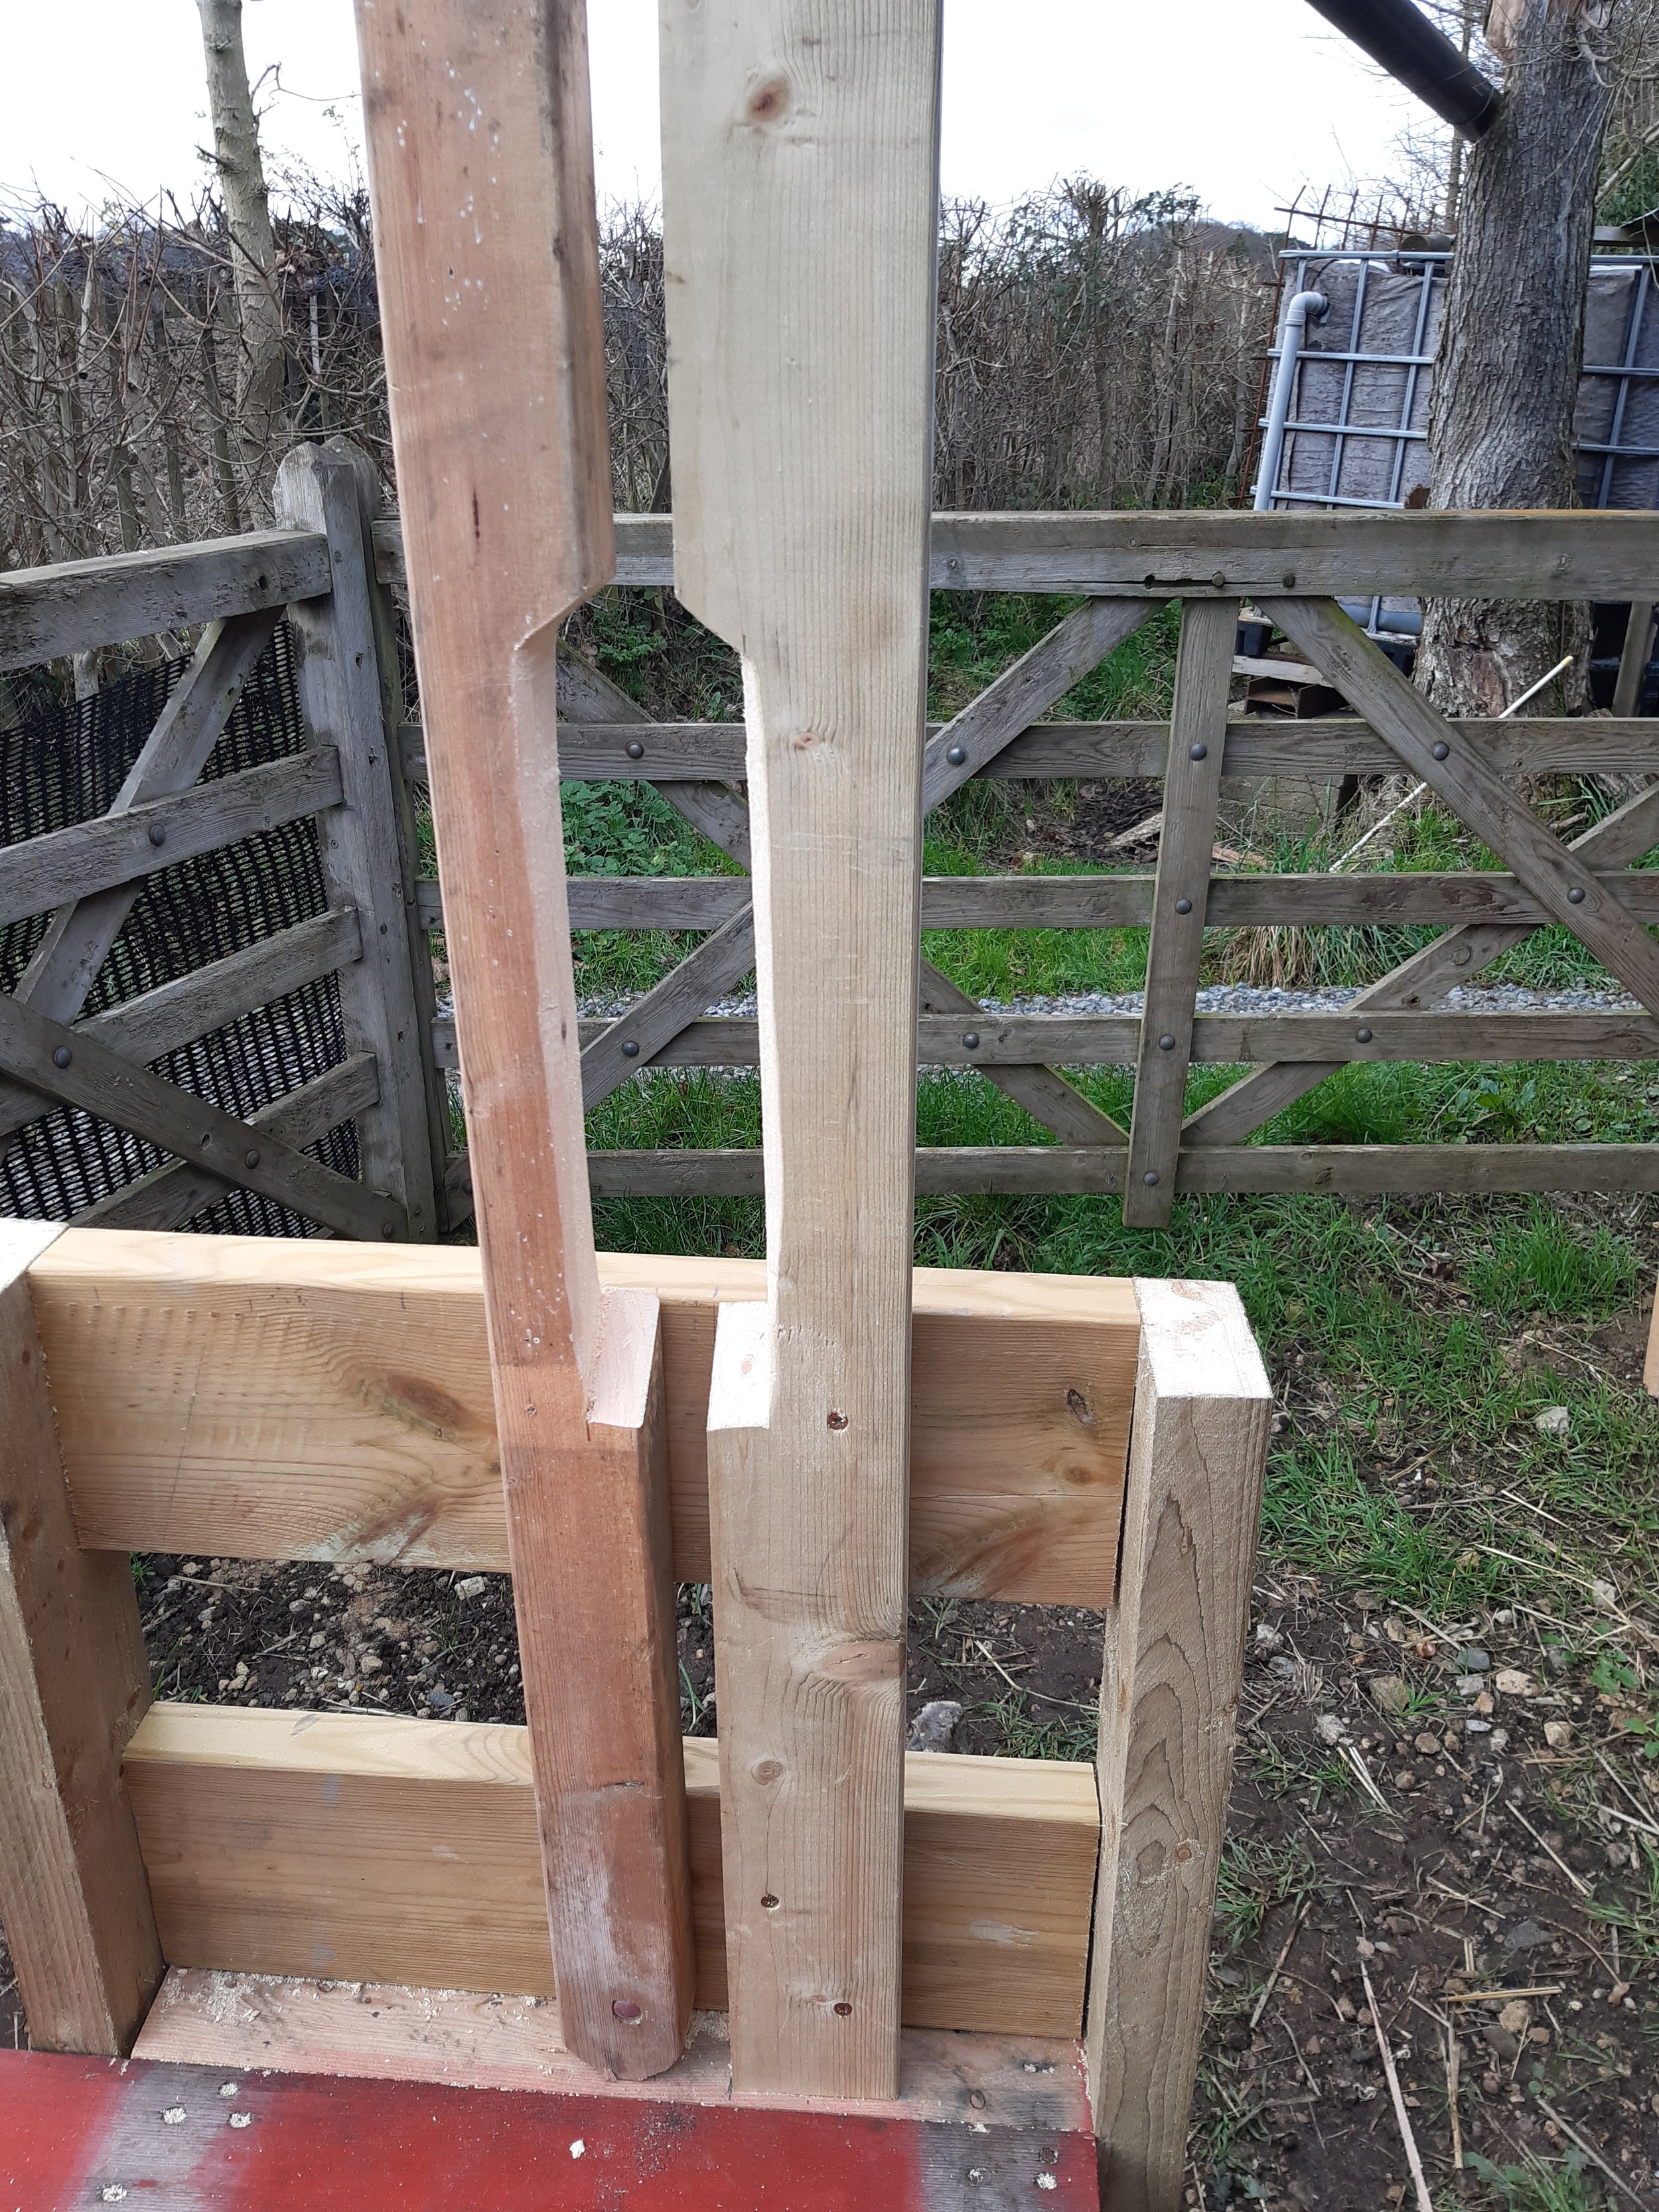
17 Close up of the yoke itself showing how it has been shaped. The actual finished size and shape will depend on the size of your goats.
18 View from the other side showing the “hinge” bolt.
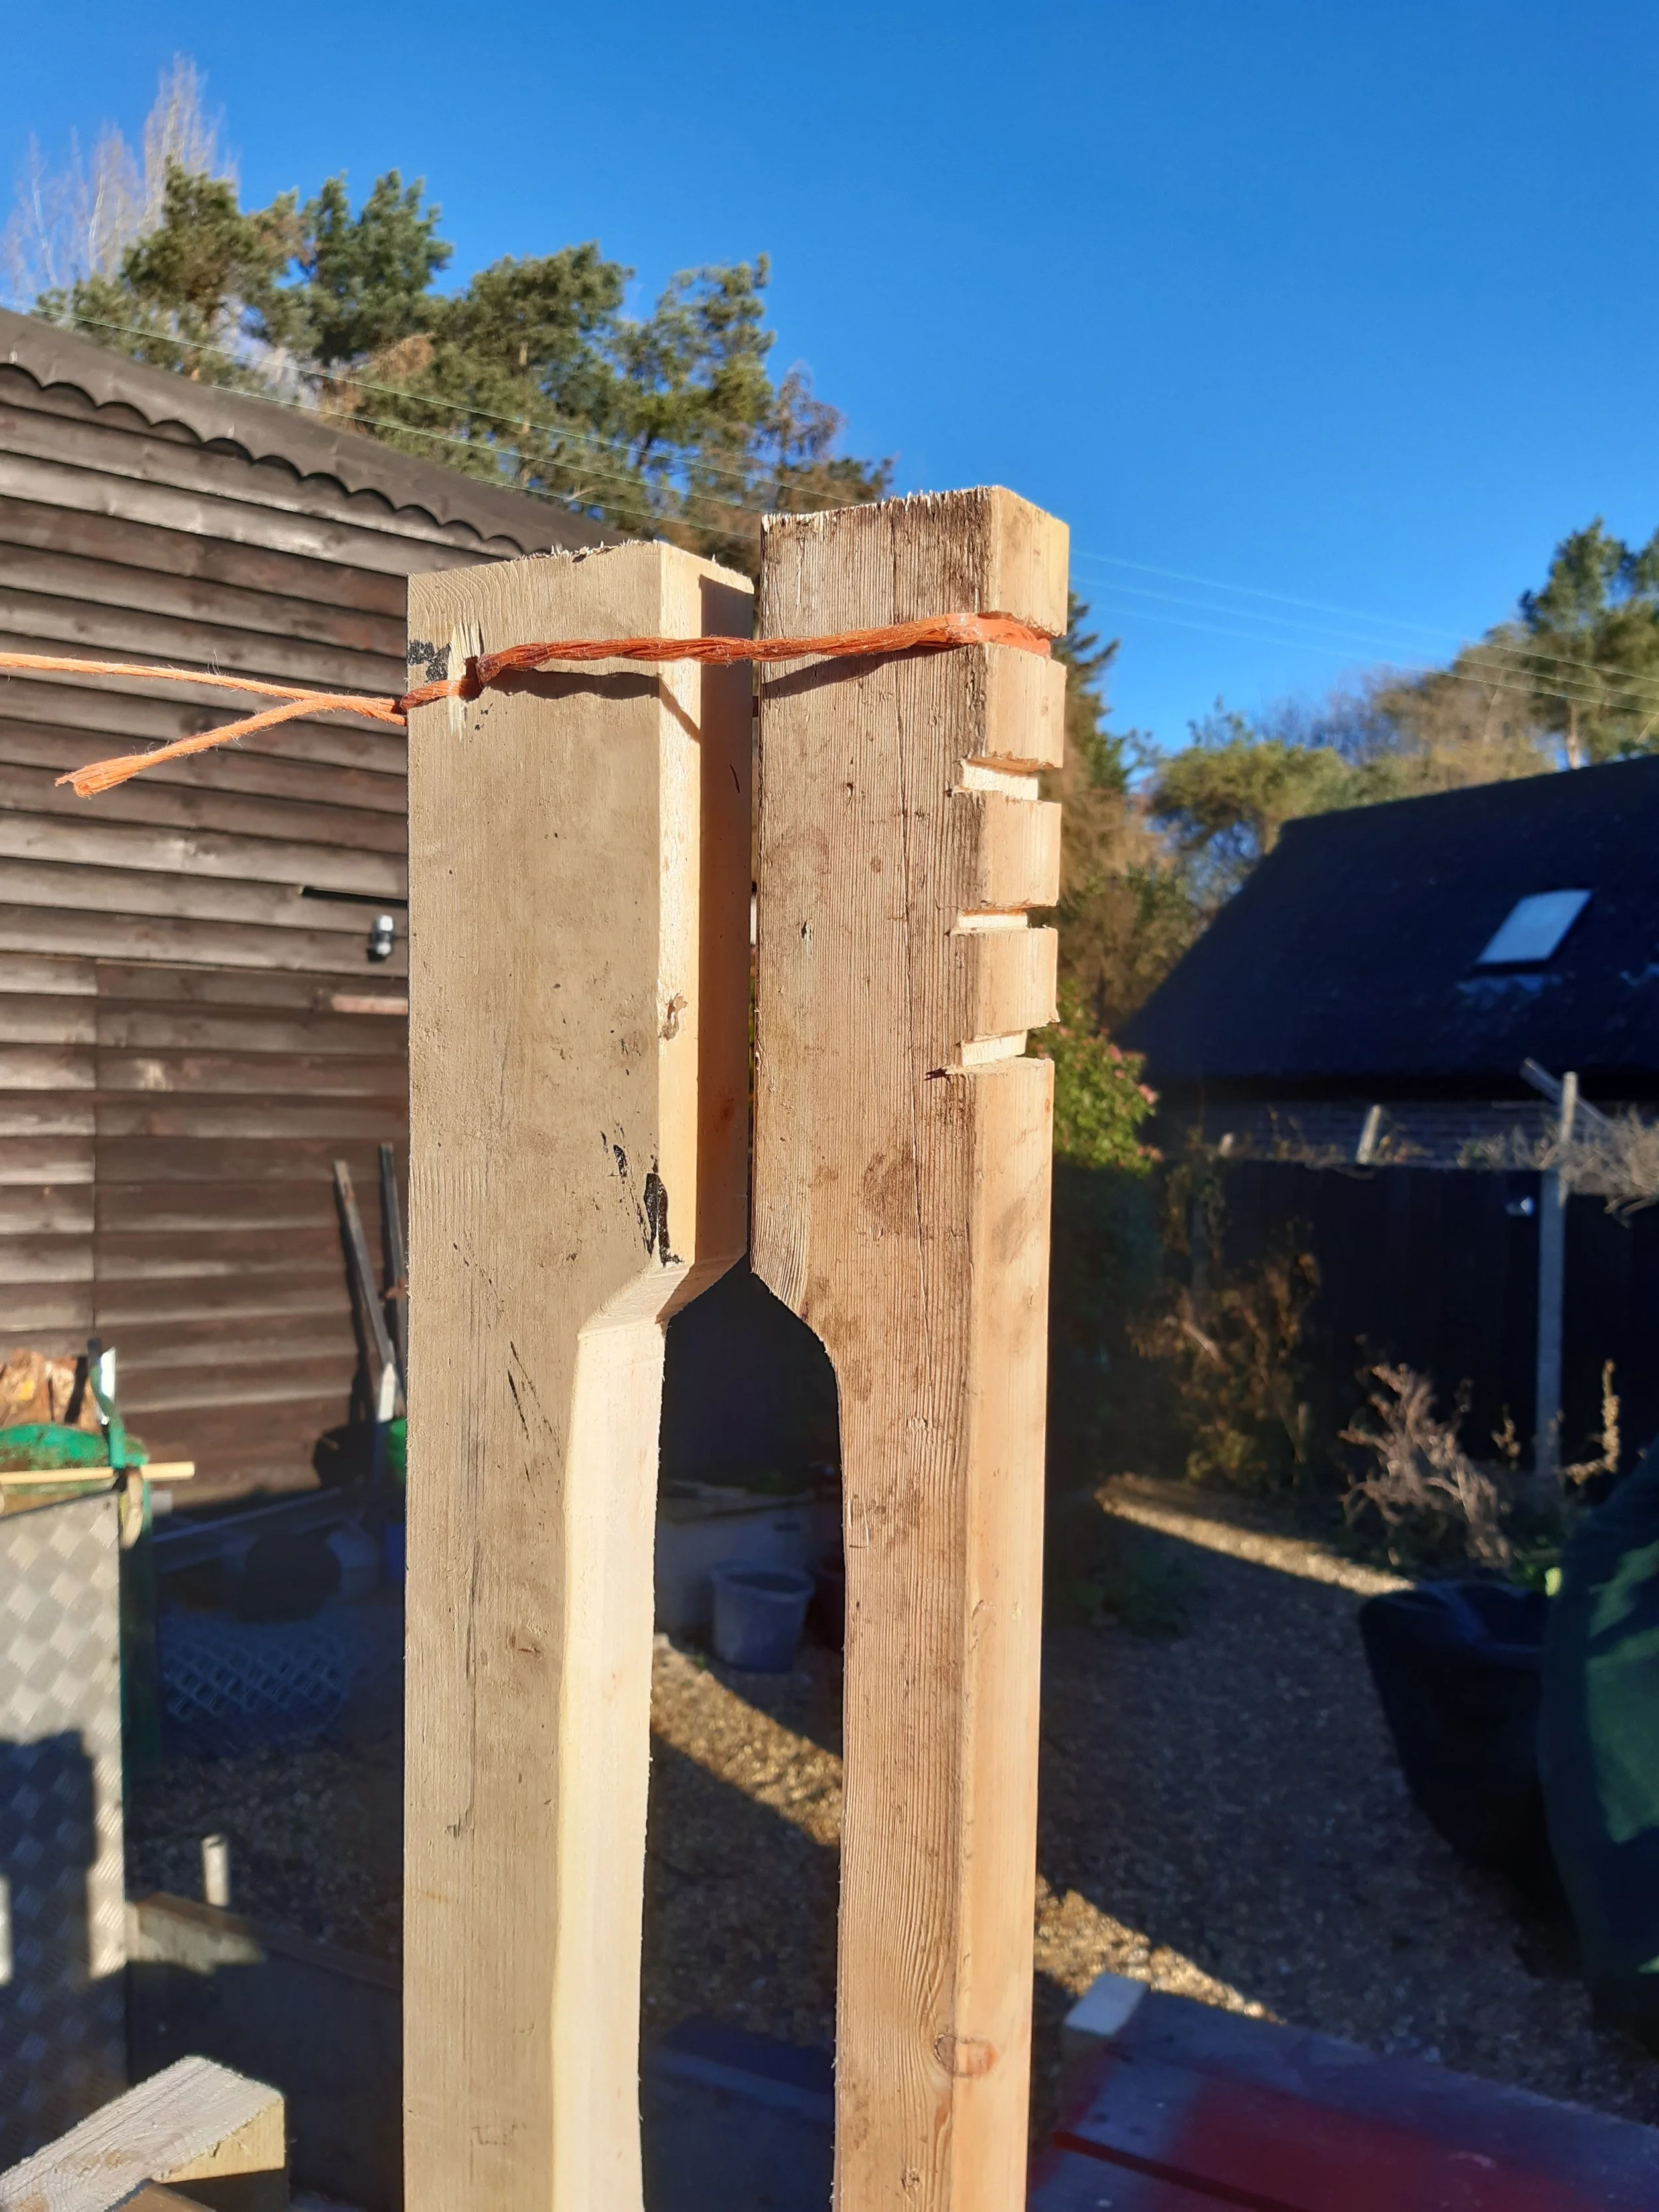
19 Yet another use for baler twine… to hold the two sides of the yoke together once the goat is in position. The notches allow for a wide variety of goat neck widths - from big billy goats to young kids.
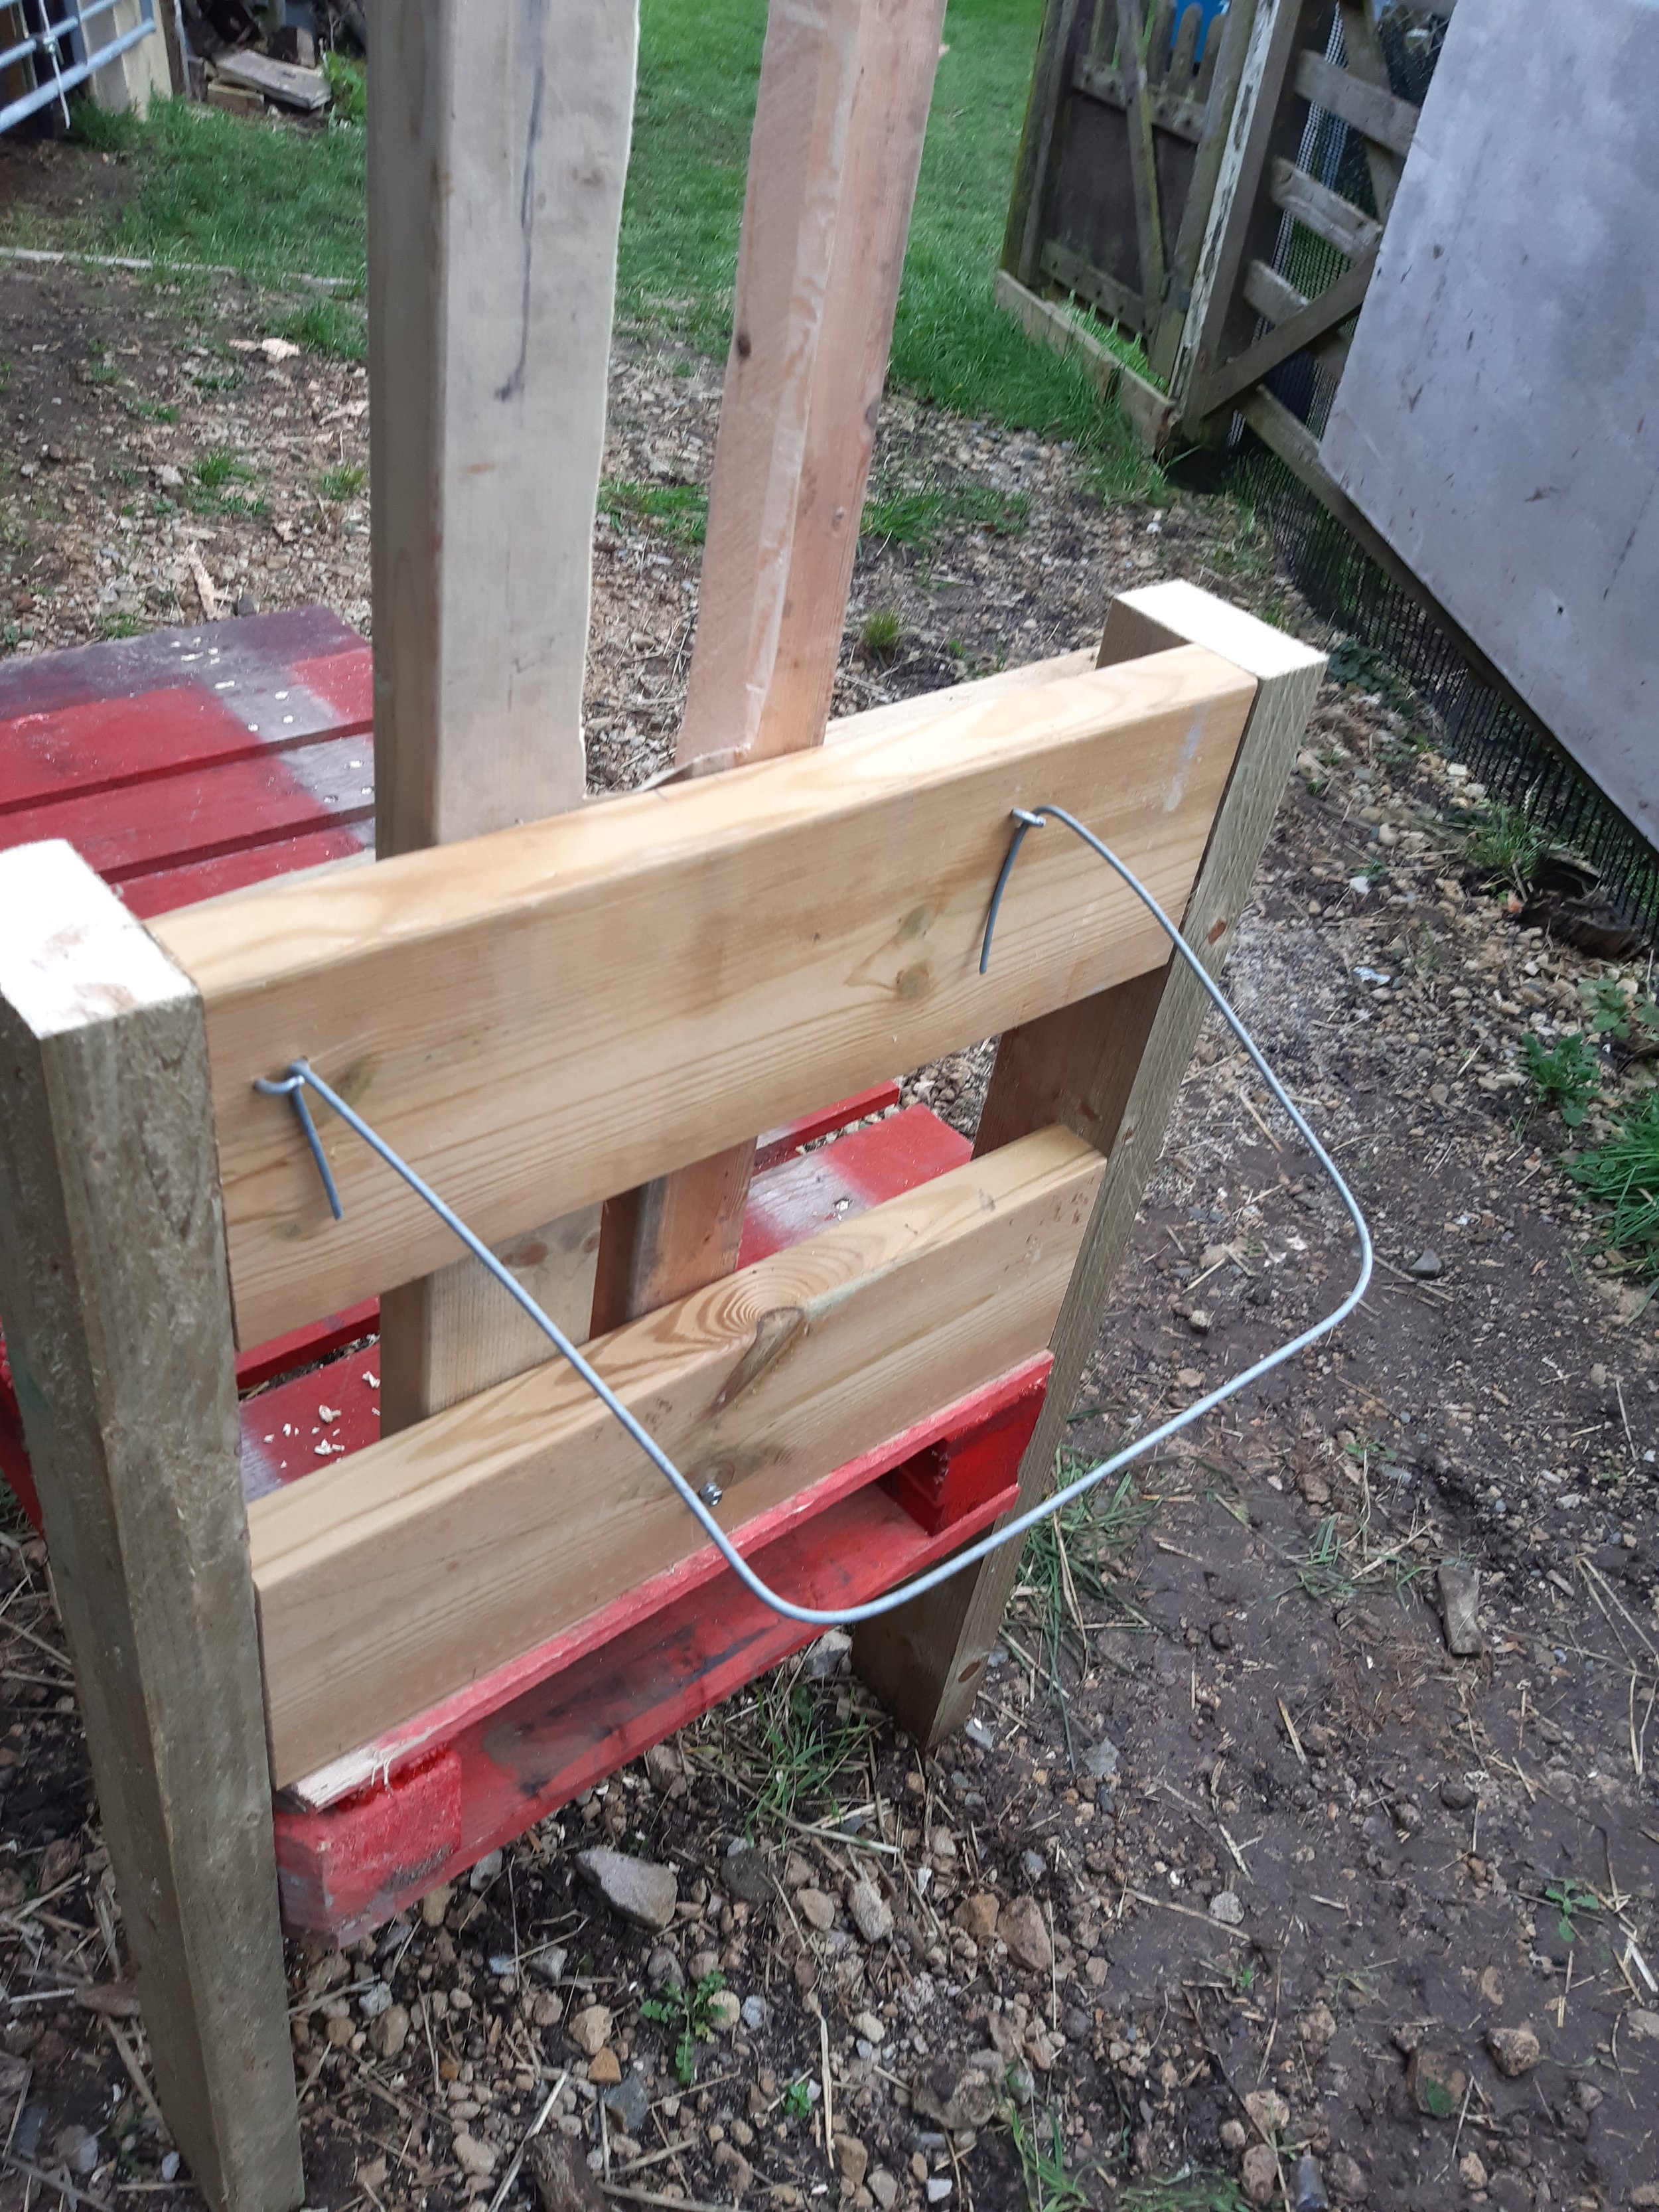
20 Creating a holder for the food bowl from fencing wire and staples.
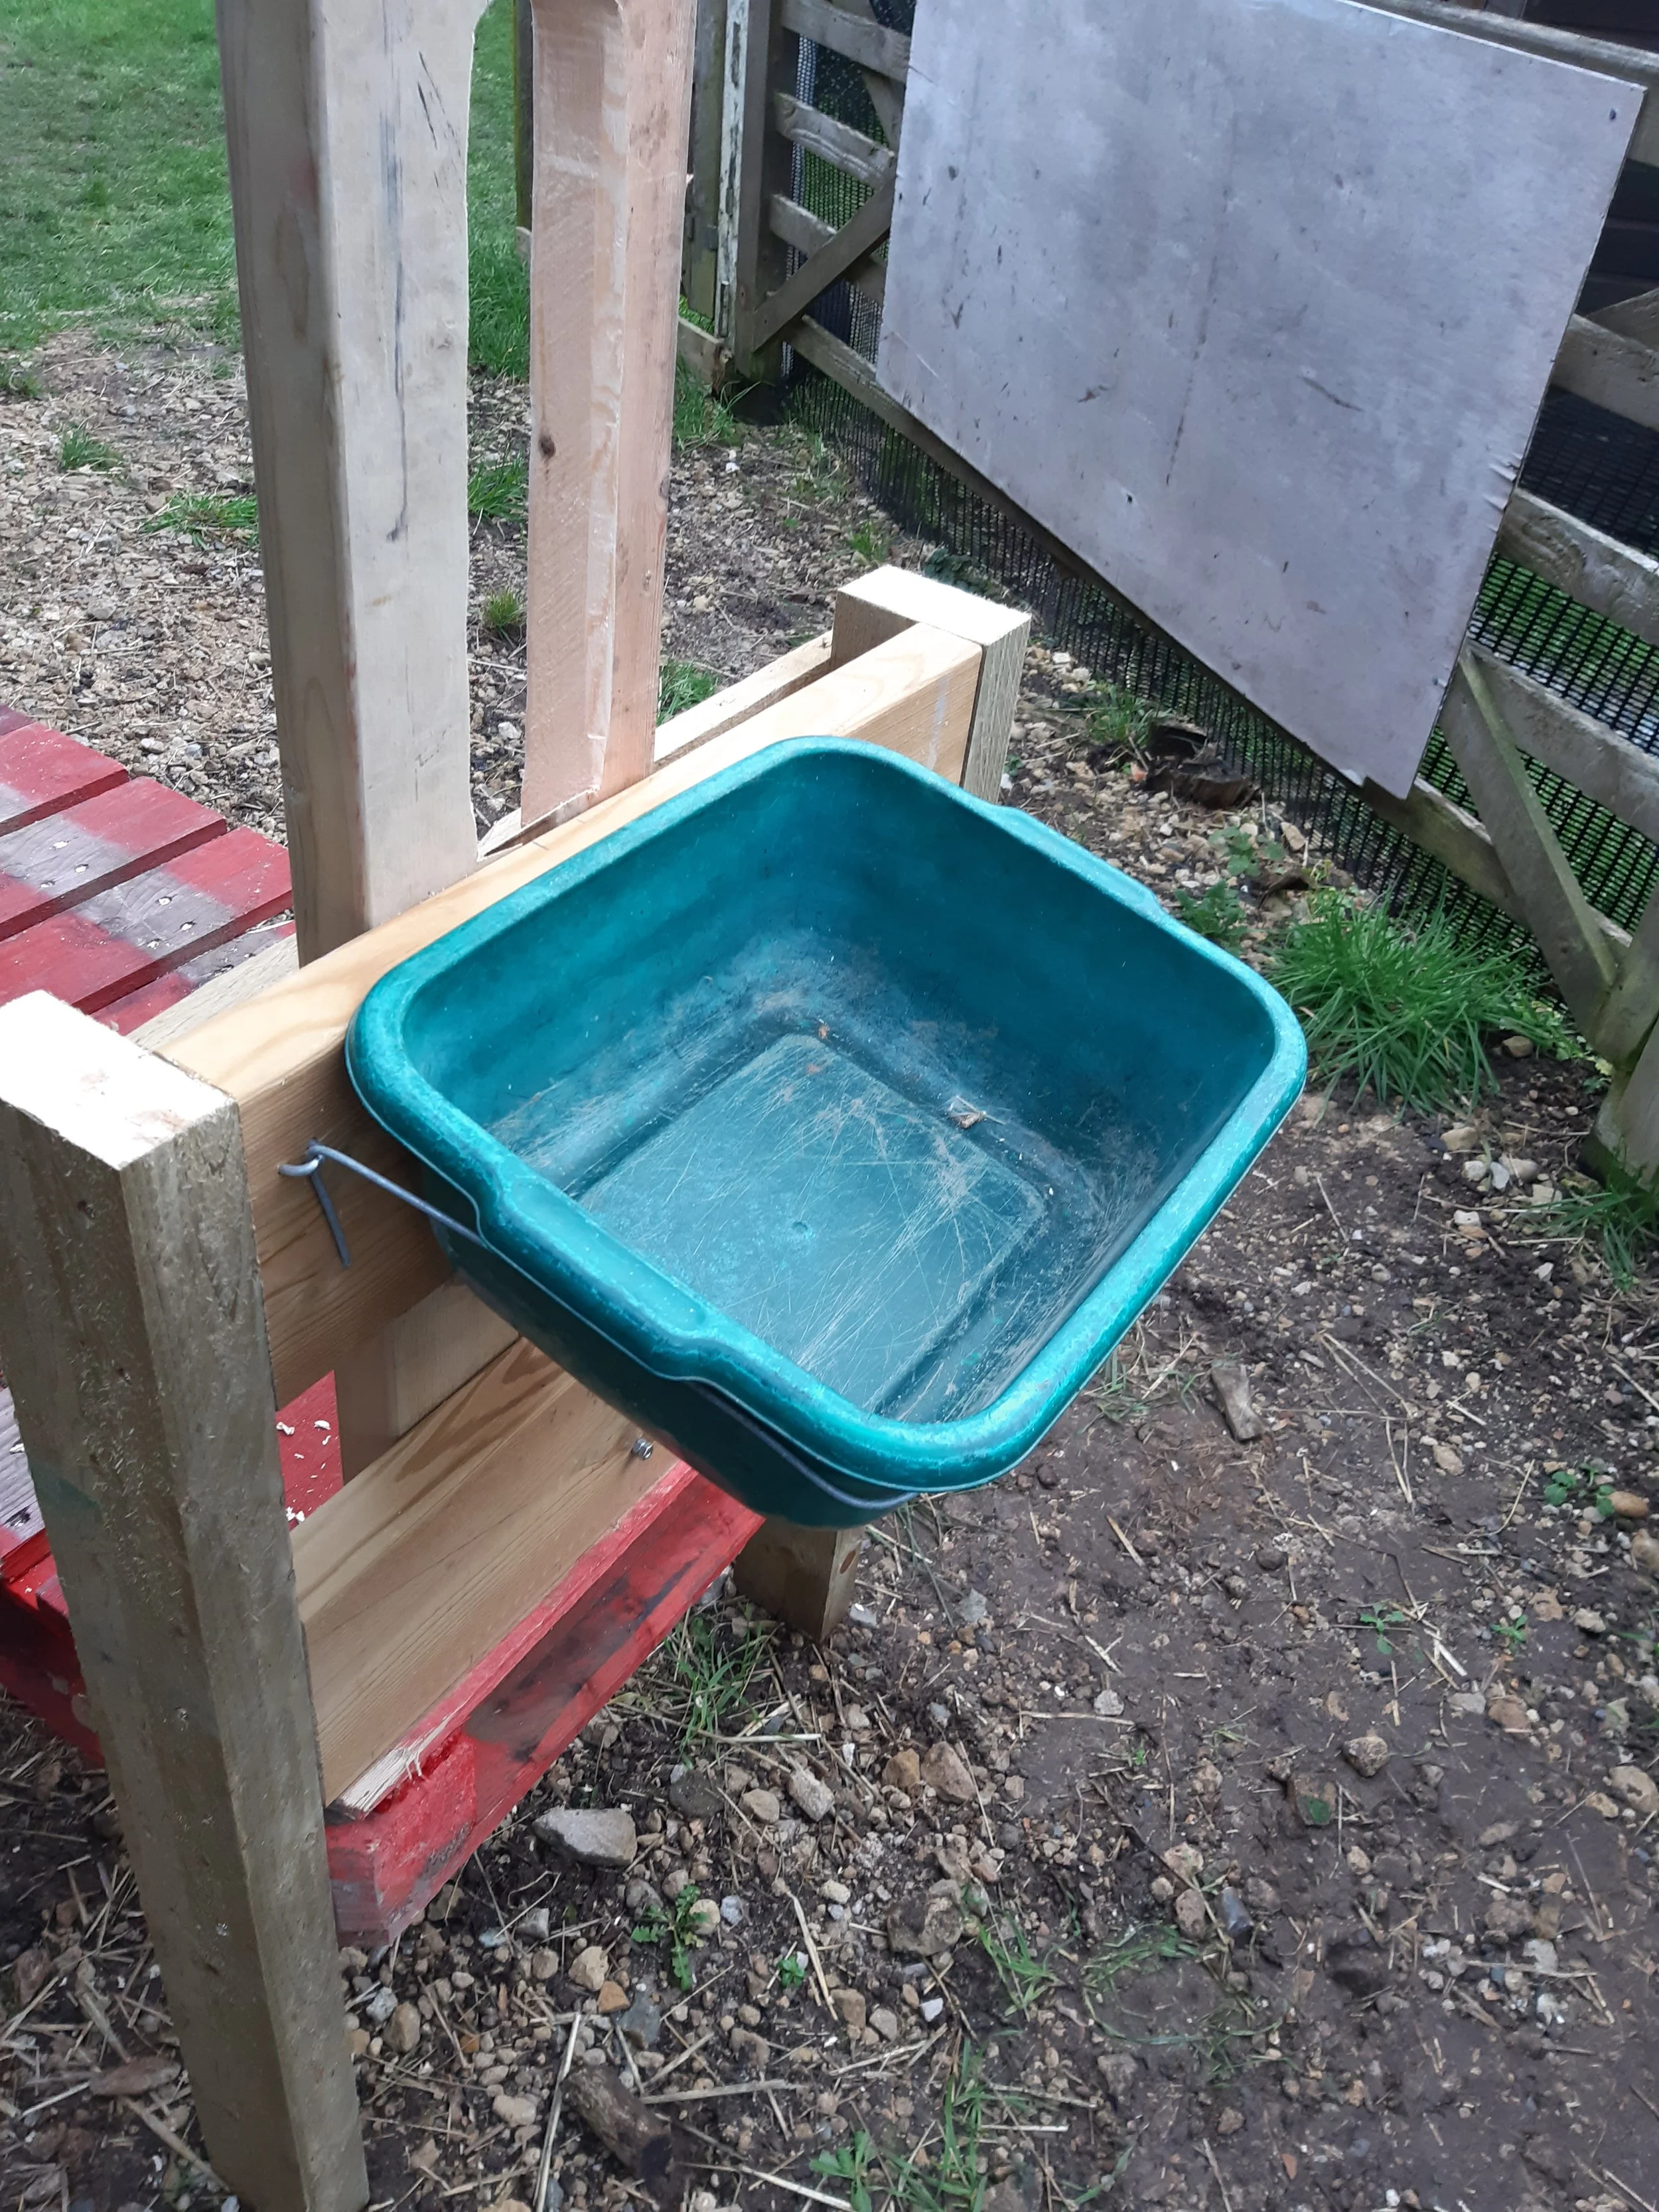
21 The food bowl in position (and yes, it is a washing up bowl)!
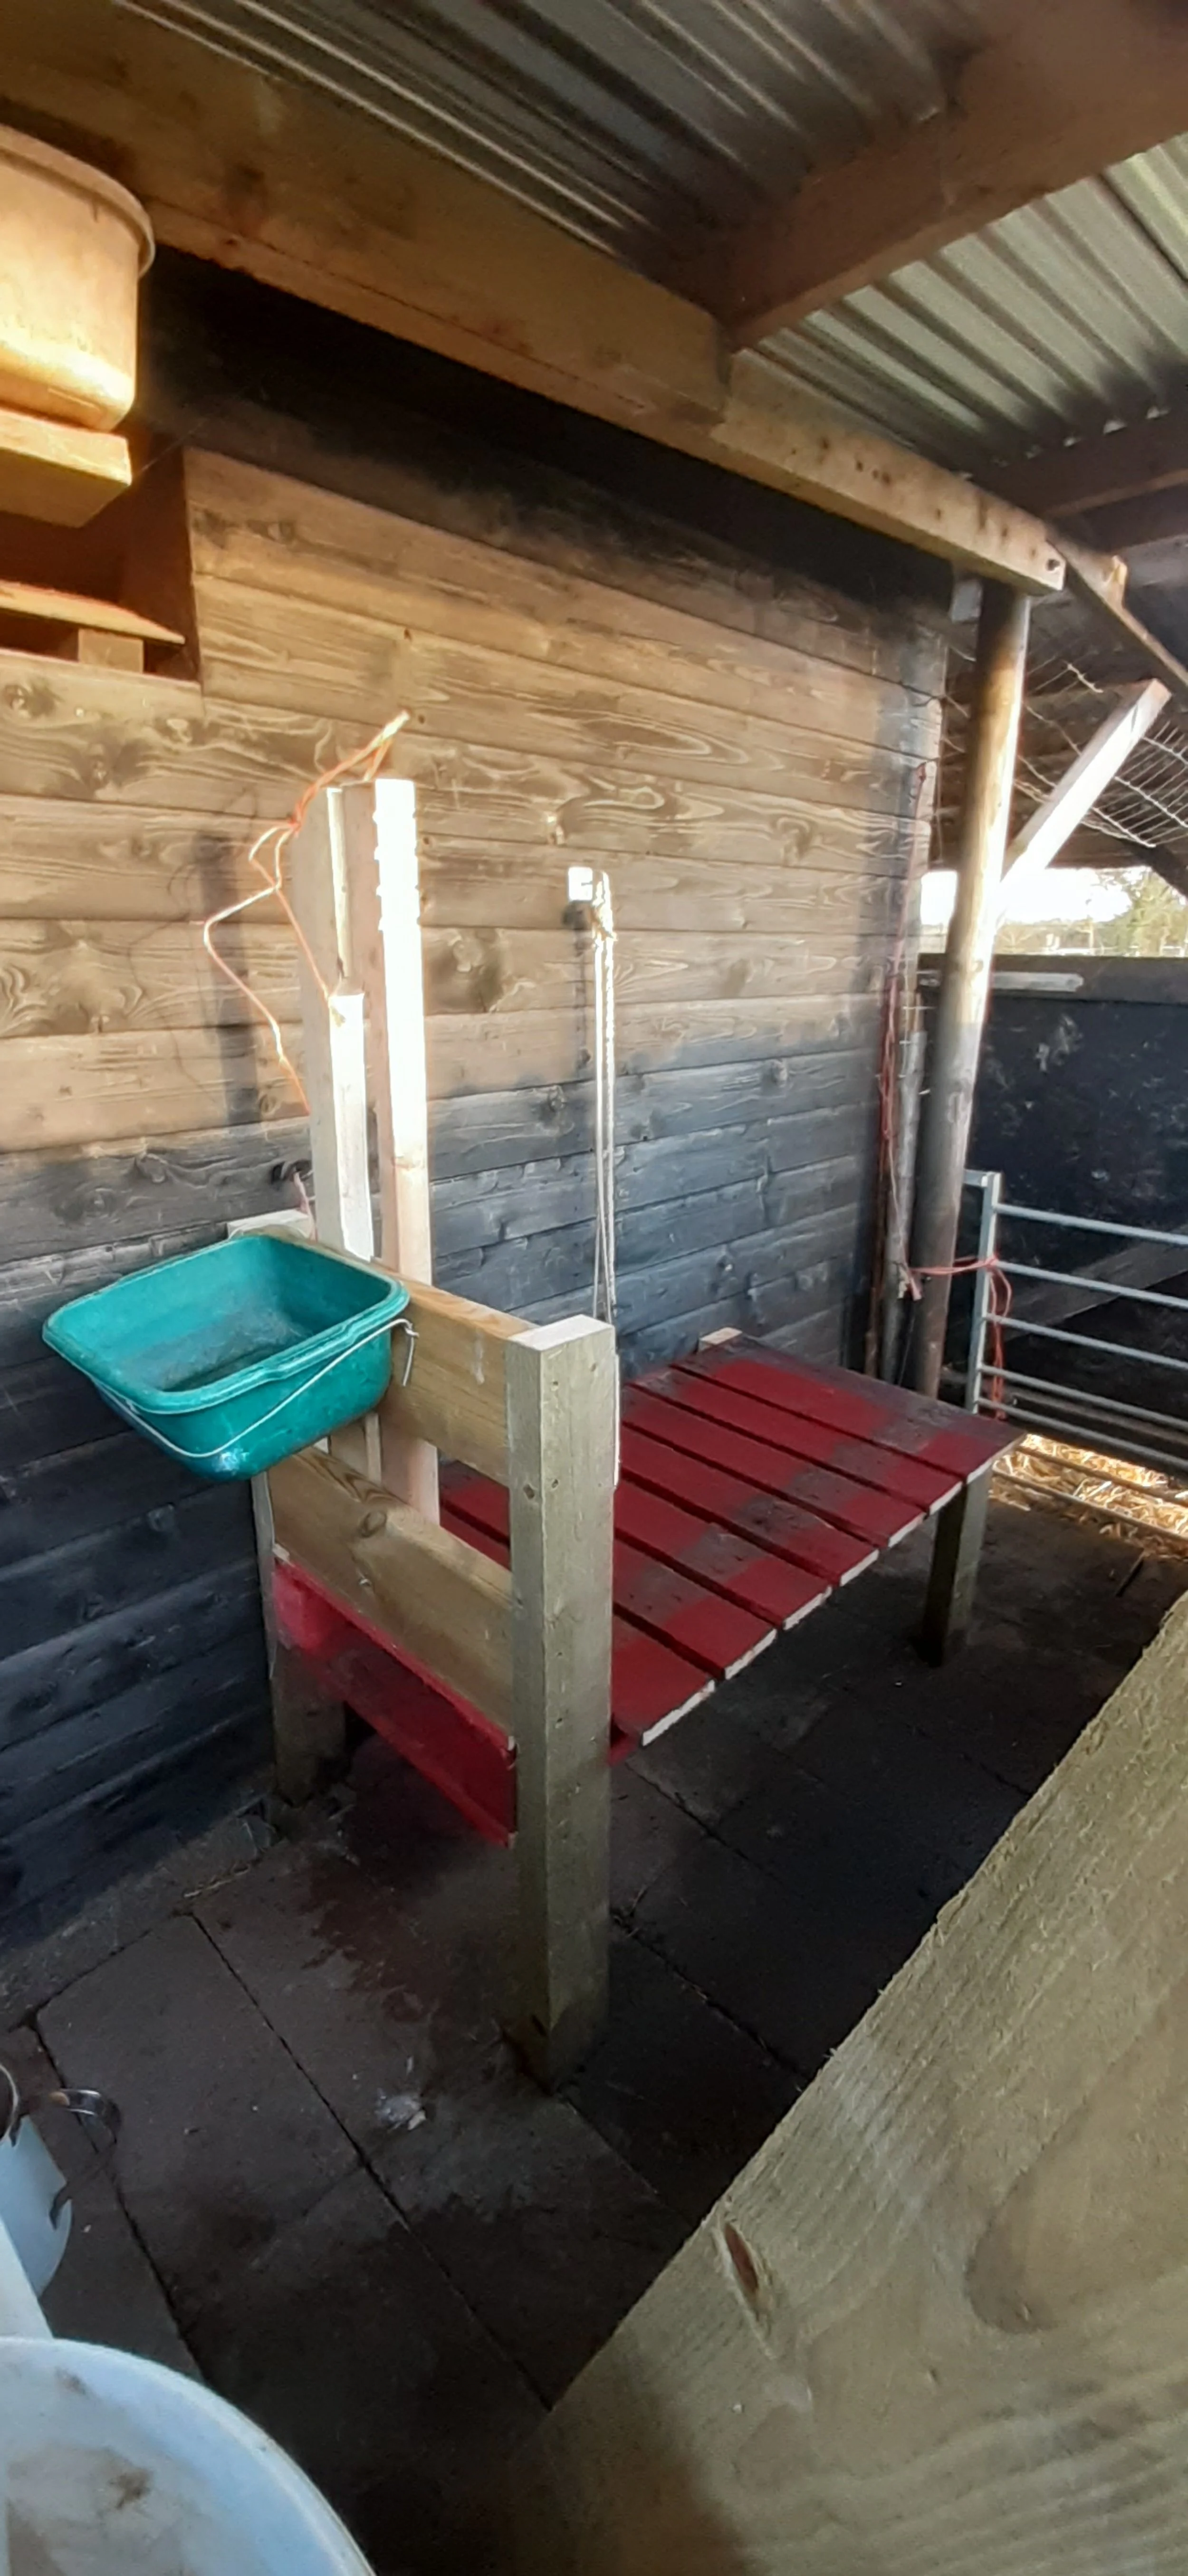
22 The completed milking stand in situ in the milking parlour.
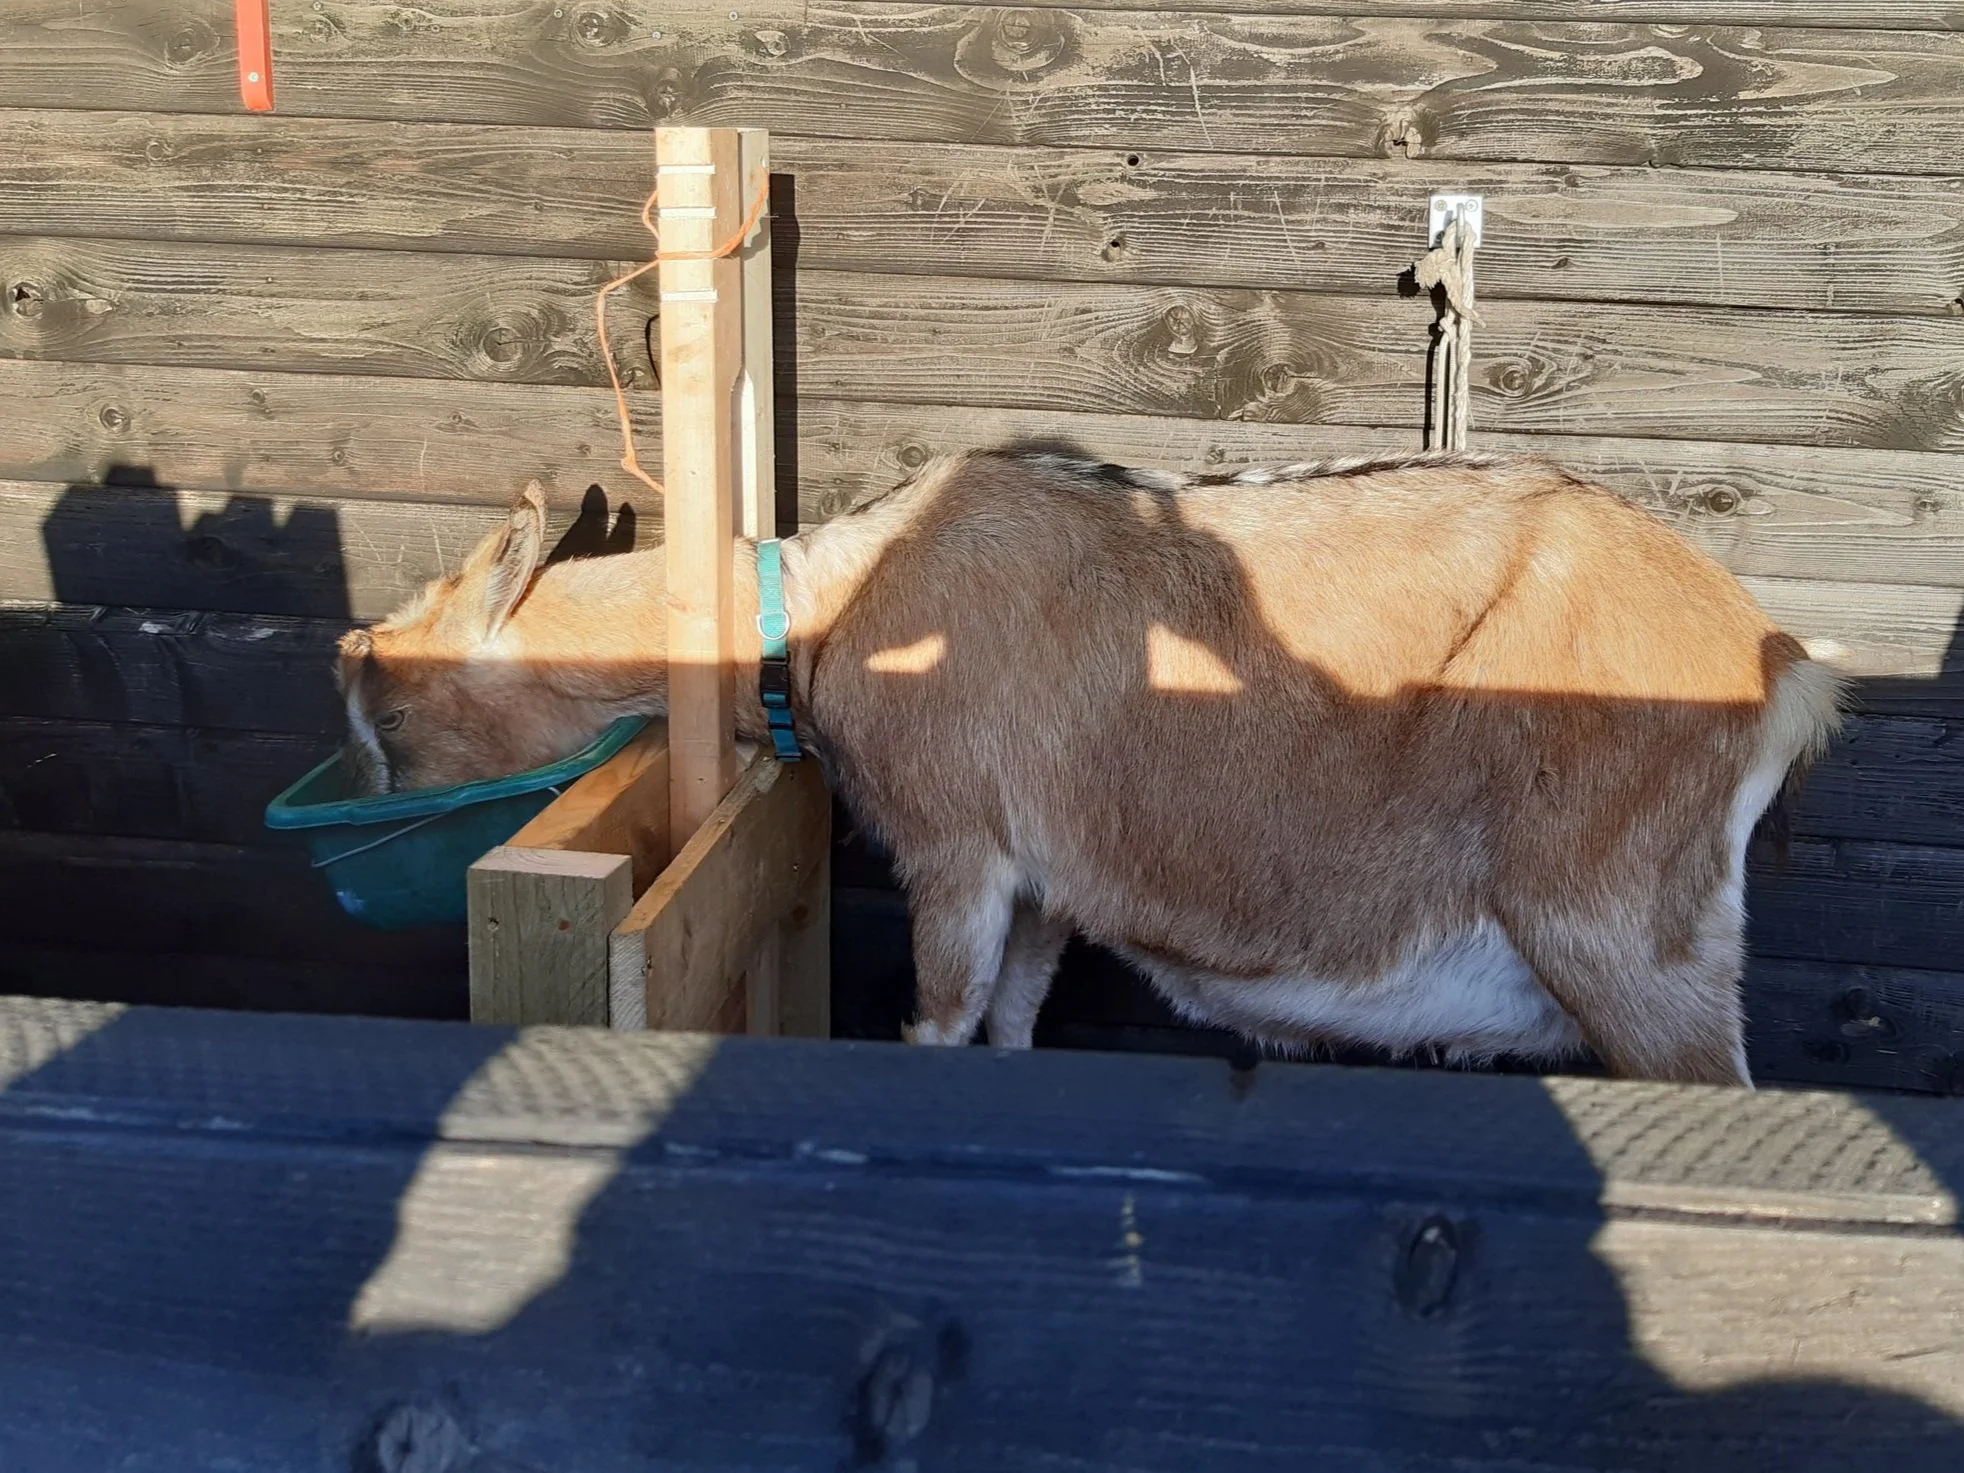
23 Radhemohan Barbara demonstrating how well the milking stand works.